The n8n Wait node seems way too easy at first glance. It doesn’t change data, talk to outside services, or make new files; all it does is make your workflow pause. But that Pause can often be the difference between a process that breaks all the time and one that always works well.
In this article, we’ll dive into how the Wait node works, explore its different resume conditions, and look at practical examples of how to use it in real-world workflows.
Before we start, if you are looking for help with a n8n project, we are taking on customers. Head over to our n8n Automation Engineer page.
Why use a Wait Node?
Many workflows involve external services that need time to process tasks. For example:
- Uploading a video to a third-party platform.
- Syncing files into Google Drive.
- Sending an API request that takes several seconds to process.
If your workflow tries to continue before the service has finished its work, you’ll run into errors or empty results. The Wait node solves this problem by acting as a pause button, letting things settle before continuing.
How the Wait Node Works
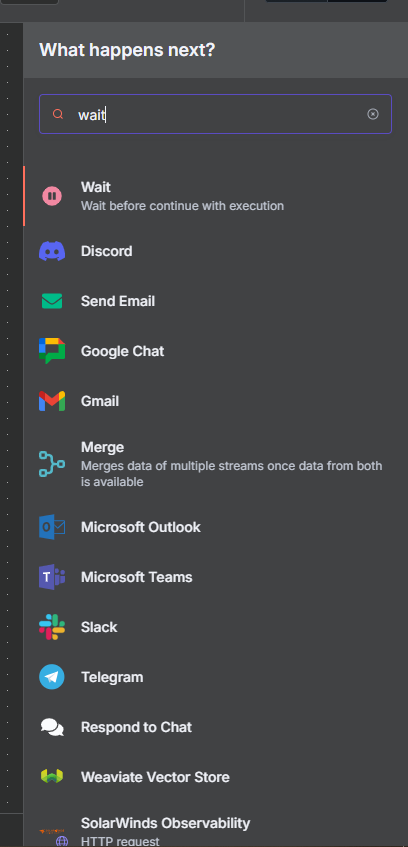
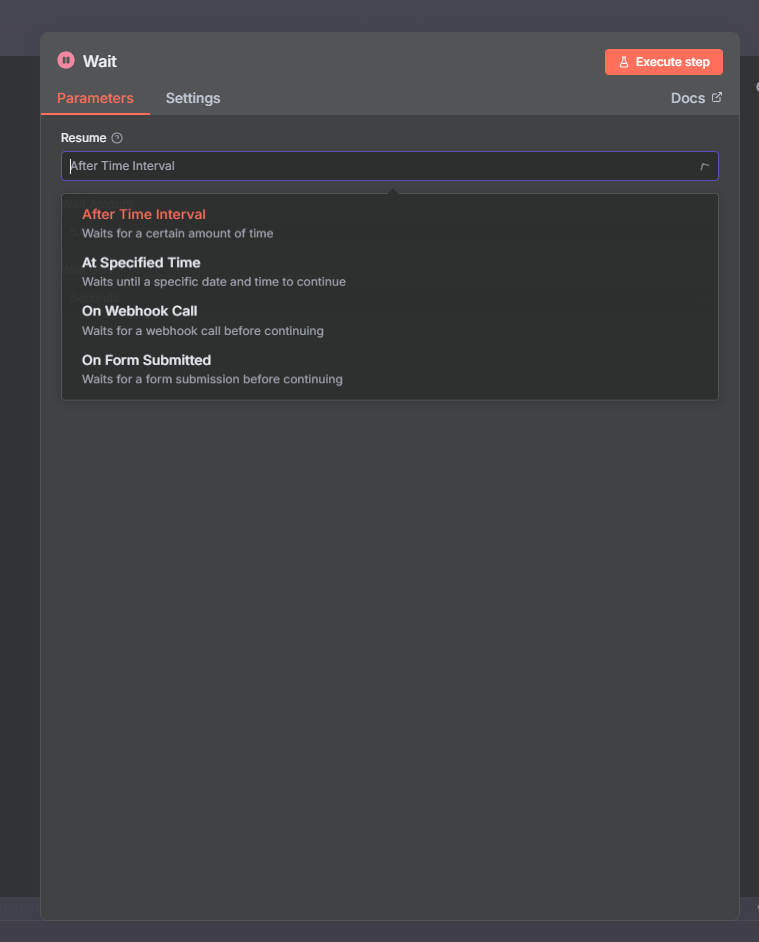
When you add a Wait node, you’ll notice its key feature is the Resume condition—this tells n8n when the workflow should continue. Here are the available options:
- After a Time Interval
- The workflow pauses for a set amount of time (seconds, minutes, hours, or days).
- Example: wait 5 minutes before checking if a video has finished processing.
- The workflow pauses for a set amount of time (seconds, minutes, hours, or days).
- At a Specific Time
- Instead of waiting for a fixed interval, the workflow resumes at a specific point in time.
- Example: a workflow starts at 10:00 a.m., processes some data, then waits until 10:20 a.m. to continue.
- Instead of waiting for a fixed interval, the workflow resumes at a specific point in time.
- On Webhook Call
- The workflow pauses until it receives a webhook event.
- Example: you send data to another service via HTTP request, and the workflow waits for that service to call back with a “finished” signal.
- The workflow pauses until it receives a webhook event.
- On Form Submission
- The workflow pauses until a user submits a form.
- Example: a human-in-the-loop process where a decision must be confirmed before moving forward.
- The workflow pauses until a user submits a form.
Basic Example
Imagine you want to send someone a follow-up email 20 seconds after they submit a form. Without a wait, both emails would send instantly, which defeats the purpose.
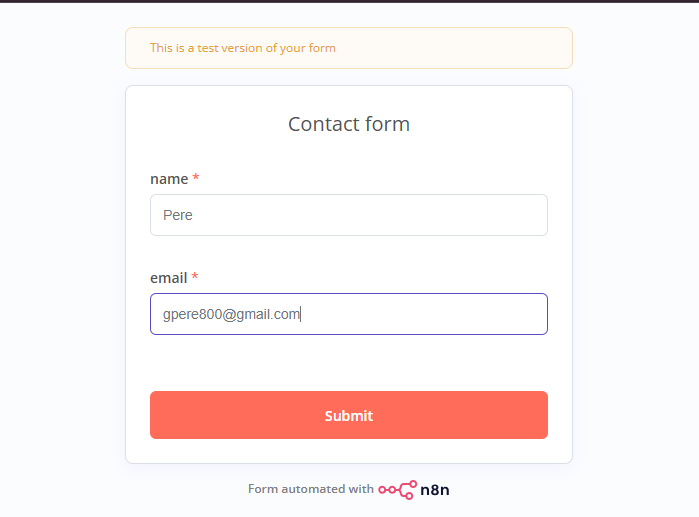
Capture the Form Submission
Add a Webhook node (or any other trigger that collects user data).
This node will capture important details such as the user’s name and email address.
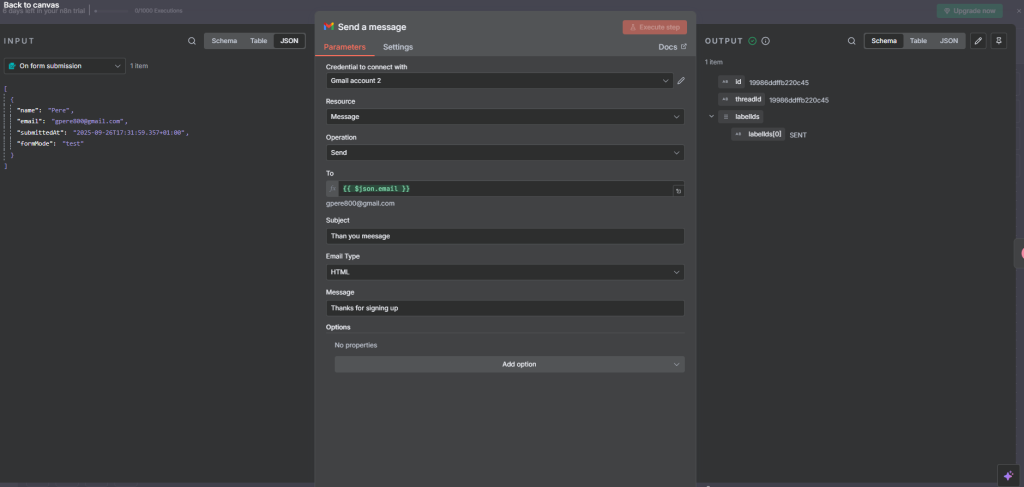
Send the First Email
Add a Gmail node (or any email node of your choice).
Configure it to send a confirmation email using the data from the Webhook.
Example:
To:
{{ $json["email"] }}Subject: “Thanks for signing up,{{ $json.email }}”
Body: A friendly thank-you message.
At this point, the user immediately receives a confirmation message.
:
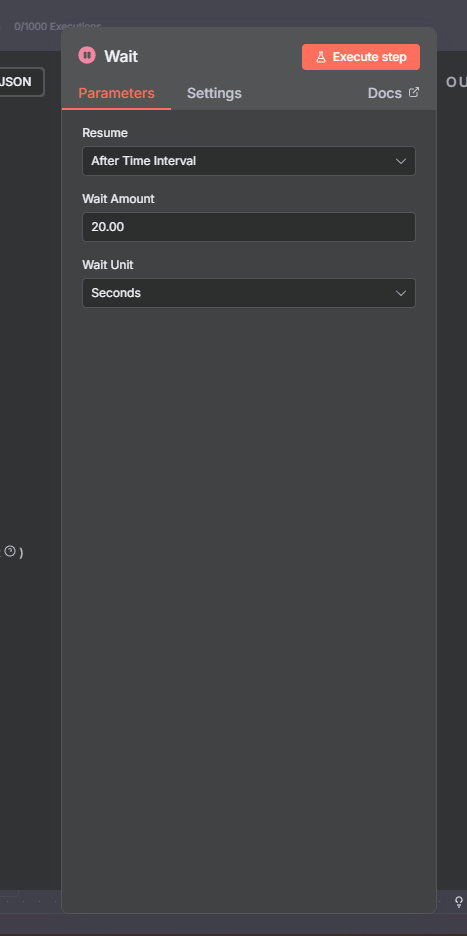
Add the Wait Node
Insert a Wait node after the first email.
Set the Resume condition to After Time Interval.
Choose 20seconds as the delay.
What happens now?
The workflow pauses for 20 seconds, but still “remembers” the original Webhook data.
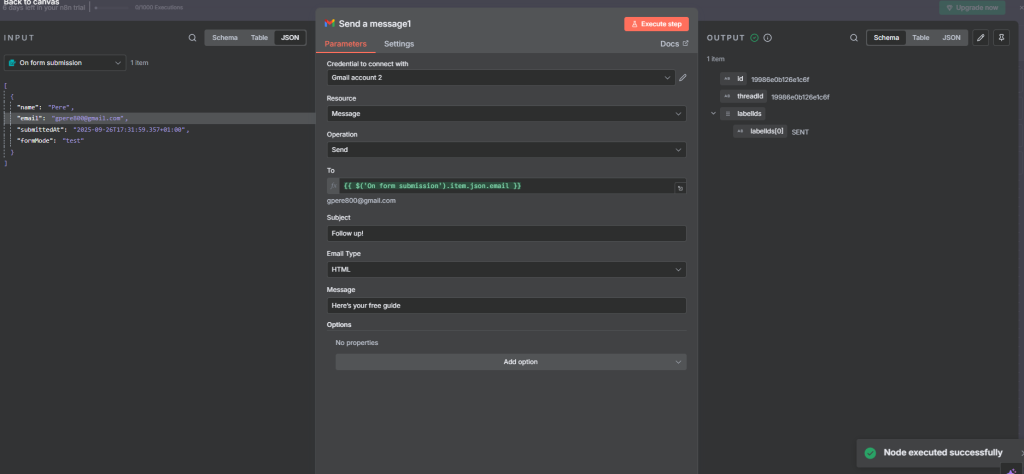
Send the Follow-Up Email
Add another Email node after the Wait node.
Use the original form data again in the email fields.
Example:
To: {{ $json.email }}
Subject: “Here’s your free guide, {{ $json.email }}
Body: Include a download link, bonus resource, or next step.
Now, 20 seconds after signing up, the user gets a helpful follow-up message
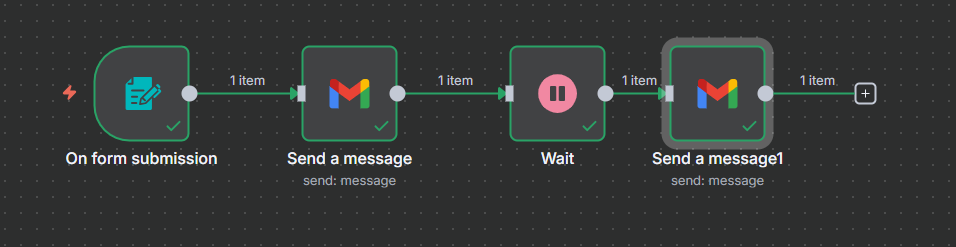
Full flow
Confirmation mail

Why This Works
The Wait node does not destroy or replace data, it simply delays the workflow.
When the workflow resumes, the same data captured from the Webhook is available for the next node.
This makes it easy to run sequences like: capture → immediate action → wait → follow-up.
Final thought
If you’ve ever had a workflow that “should” work but keeps failing, there’s a good chance you needed a Wait node. By pausing at the right moment, you can save yourself frustration and build workflows that consistently deliver results.
Whether you’re handling video uploads, Google Drive syncs, webhook callbacks, or API retries, the Wait node is an essential part of your automation toolkit.
Thank you for reading this article. Make sure to check out our other n8n content on the website. If you need any help with n8n workflows we are taking on customers so reach out
