Streamlit Select Box
st.selectbox is a widget that allows users to select a single option from a dropdown list.
It is useful for scenarios where you want to limit user input to a predefined set of options.
Need a Streamlit developer: Click here
st.selectbox(label, options, index=0, format_func=str, key=None, help=None)
This is the basic syntax for creating a select box in Streamlit.
label: The label for the select box.
options: A list of options to choose from.
index: The index of the default selected option (default is 0).
format_func: A function to format the options for display (default is str).
key: An optional key to uniquely identify the widget.
help: An optional help text that appears when hovering over the widget.
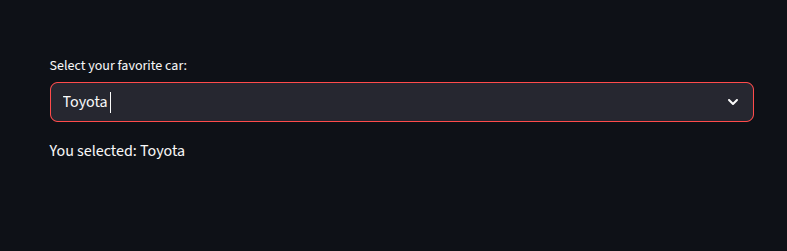
Basic Example of a Select Box
					import streamlit as st

cars = ["Toyota", "Honda", "Ford", "BMW", "Mercedes"]
selected_car = st.selectbox("Select your favorite car:", cars)

st.write(f"You selected: {selected_car}")
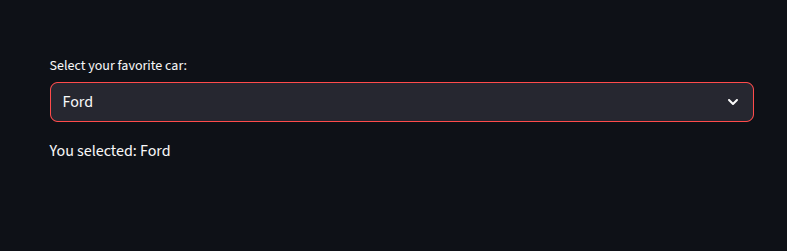
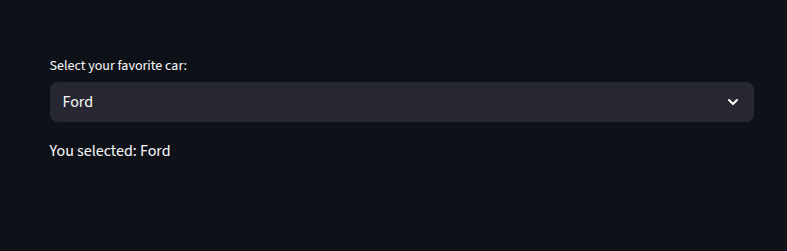
Setting a Default Value in Select Box
here, we set the default selected option to “Ford” by using the index parameter.
The index of “Ford” in the list is 2, so we set index=2.
This means when the select box is rendered, “Ford” will be pre-selected.
					cars = ["Toyota", "Honda", "Ford", "BMW", "Mercedes"]


selected_car = st.selectbox("Select your favorite car:", cars, index=2)

st.write(f"You selected: {selected_car}")
Getting the Selected index
if we really want to get the index of the selected option, we can use the `index` parameter.
This can be useful if we need to perform operations based on the selected option’s index.
					choice = st.selectbox("Select your favorite car:", cars)

selected_index = cars.index(choice)
st.write(f"Index: {selected_index}, Value: {choice}")

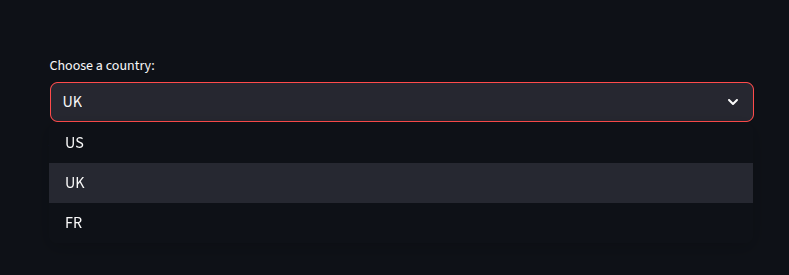
Using a Custom Format Function
We can use the `format_func` parameter to customize how the options are displayed in the select box.
This is useful if we want to display more user-friendly names or additional information.
					options = ["us", "uk", "fr"]

country = st.selectbox(
    "Choose a country:",
    options,
    format_func=lambda x: x.upper()  # Display options in uppercase
)

st.write(f"You selected: {country}")
Working with Pandas
					import pandas as pd

df = pd.DataFrame({
    "Car": ["Toyota", "Honda", "Ford", "BMW", "Mercedes"],
    "Price": [20000, 22000, 25000, 35000, 40000]
})

selected_car = st.selectbox("Select a car:", df["Car"])

car_price = df[df["Car"] == selected_car]["Price"].values[0]
st.write(f"You selected: {selected_car}, Price: ${car_price}")
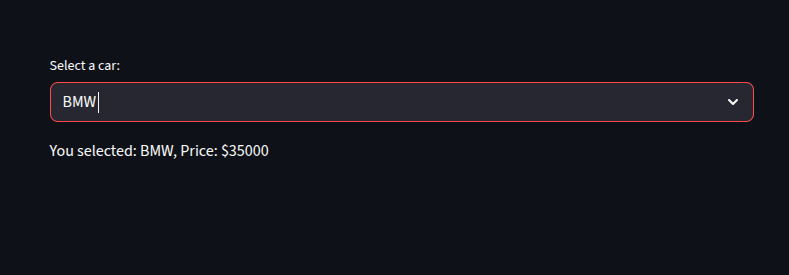
This example demonstrates how to use a select box with a DataFrame to display options and retrieve associated data.
This allows us to select a car and display its price based on the selection.
The `format_func` is not used here, but we could easily add it if we wanted to format the car names differently.
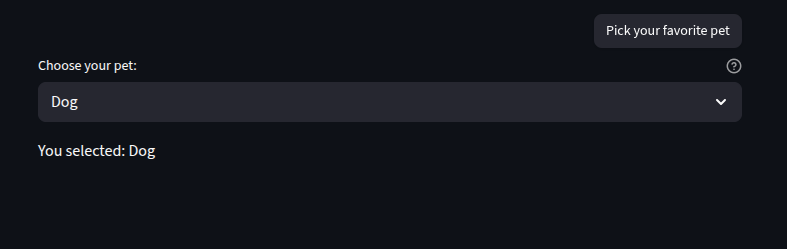
Adding a Help Tooltip
We can add a help tooltip to the select box to provide additional information to users.
This is useful for guiding users on how to use the widget or what the options mean.
					pet = st.selectbox(
    "Choose your pet:",
    ["Dog", "Cat", "Parrot"],
    help="Pick your favorite pet"
)
st.write(f"You selected: {pet}")
Persistent Selection with key
We can use the `key` parameter to make the selection persistent across reruns.
This is useful when we want to maintain the user’s selection even after the app reruns.
					pet = st.selectbox(
    "Choose your pet:",
    ["Dog", "Cat", "Parrot"],
    key="pet_selector"
)

st.write("Selected:", st.session_state.pet_selector)
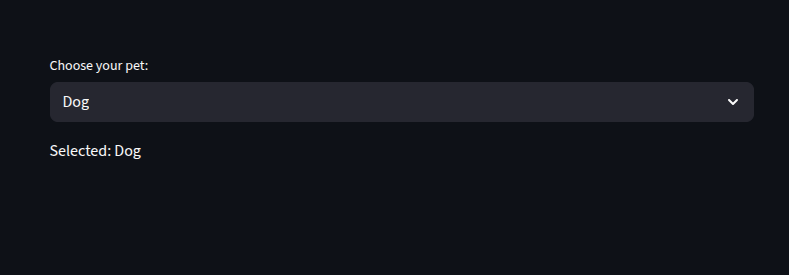
This example shows how to use the `key` parameter to maintain the user’s selection across reruns.
The selected value will be stored in `st.session_state.pet_selector`, allowing us to access it later without losing the selection after reruns.
Dynamic Options
We can also create a select box with dynamic options based on user input or other conditions.
This allows for more interactive and responsive applications.
					category = st.selectbox("Choose category:", ["Fruits", "Vegetables"])

if category == "Fruits":
    items = st.selectbox("Select a fruit:", ["Apple", "Banana", "Cherry"])
else:
    items = st.selectbox("Select a vegetable:", ["Carrot", "Broccoli", "Spinach"])

st.write(f"You selected: {items} from {category}")
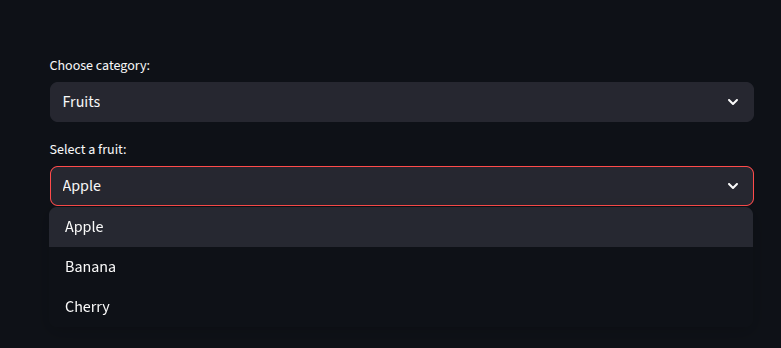
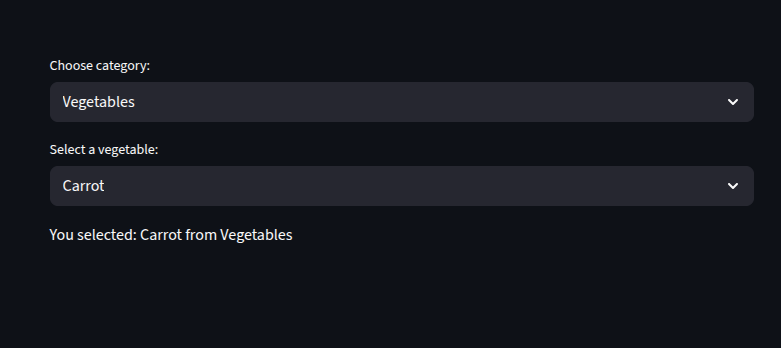
This example demonstrates how to create a select box with dynamic options based on the user’s previous selection.
Depending on the category chosen, the second select box will display different options, making the app more interactive.
Using Dictionaries
We can also use a dictionary to map options to values in the select box.
This is useful when we want to associate each option with a specific value or object.
					countries = {
    "United States": "US",
    "United Kingdom": "UK",
    "France": "FR"
}

country = st.selectbox(
    "Pick a country:",
    list(countries.keys())
)

st.write(f"You selected: {country} ({countries[country]})")
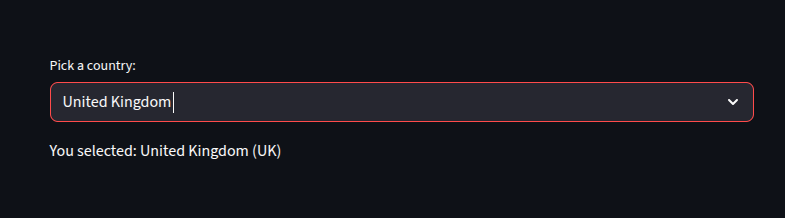
This example shows how to use a dictionary to map country names to their abbreviations.
The select box displays the country names, and when a user selects one, we can easily retrieve its corresponding value from the dictionary.
This is useful for scenarios where we need to display user-friendly names while keeping track of underlying values.
Styling the Select Box
We can also apply custom styles to the select box to enhance its appearance.
This can be done using Streamlit’s built-in styling options or by using custom CSS.
					st.markdown("""
<style>
    .stSelectbox {
        background-color: #f0f0f0;
        border-radius: 5px;
        padding: 10px;
    }
</style>
""", unsafe_allow_html=True)

pet = st.selectbox(
    "Choose your pet:",
    ["Dog", "Cat", "Parrot"]
)
st.write(f"You selected: {pet}")
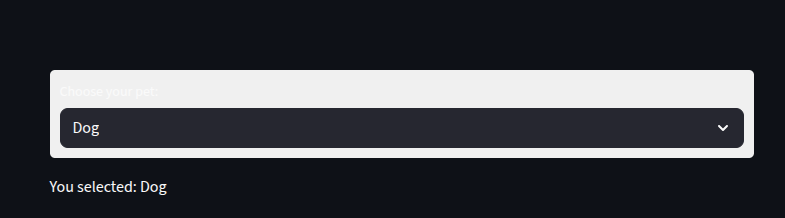
This example demonstrates how to apply custom styles to the select box using HTML and CSS.
The `unsafe_allow_html=True` parameter allows us to include raw HTML in the Streamlit app, enabling us to style the select box as desired.
Note that this approach is more advanced and should be used with caution, as it can affect the app’s layout and functionality if not done correctly.
This example shows how to create a select box with custom styles applied to it.
The styles are defined in a `<style>` block and applied to the select box using the `st.markdown` function with `unsafe_allow_html=True`.
This allows us to customize the appearance of the select box, making it more visually appealing.
You want to learn more about Streamlit: Click here
Watch the youtube video below for more on Streamlit