Streamlit Radio Button
A radio button is a Ui widget that let’s users select exactly one option from a list.
Need a Streamlit developer? Click here
To start we’re going to create a simple dataframe in python:
Syntax location
st.radio(label, options, index=0, format_func=special_internal_function, key=None, help=None, on_change=None, args=None, kwargs=None, *, disabled=False, horizontal=False, captions=None, label_visibility=”visible”, width=”content”)
| Parameter | Type | Default | Description |
|---|---|---|---|
| label | str | Required | The label displayed above the radio button. |
| options | list / tuple | Required | List of available choices. |
| index | int | 0 | Default selected option index. |
| key | str | None | Unique key to maintain widget state. |
| help | str | None | Tooltip shown when hovering over the widget. |
| horizontal | bool | False | If True, displays options side by side. |
| captions | list[str] | None | Captions displayed below each radio option. |
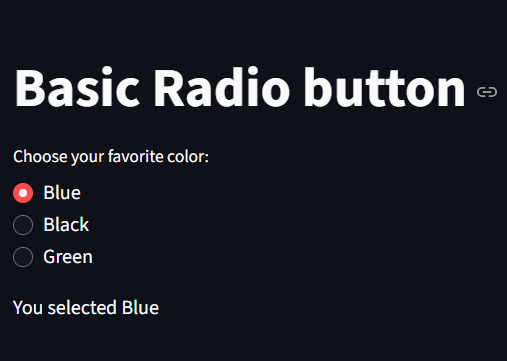
Simple Radio Button
Only one item can be selected when using Radio button
Setting a Default Option
Here, we set the default selection to “Banana” using the index=1
					import streamlit as st

option = st.radio(
    "Select a fruit:",
    ["Apple", "Banana", "Orange"],
    index=1
)

st.write(f"You selected: {option}")

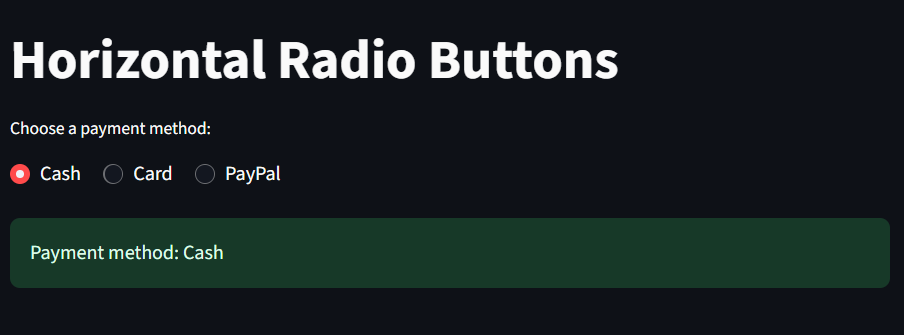
Horizontal Radio Buttons
Here, we set the horizontal to True thereby making the radio buttons line horizontally as opposed to been vertical
					import streamlit as st

st.title("Horizontal Radio Buttons")

option = st.radio(
    "Choose a payment method:",
    ["Cash", "Card", "PayPal"],
    horizontal=True
)

st.success(f"Payment method: {option}")
Adding Captions
Here we add captions on each radio button by creating an array of texts in captions.
					import streamlit as st

st.title("Radio Buttons with Captions")

option = st.radio(
    "Select your plan:",
    ["Free", "Pro", "Enterprise"],
    captions=[
        "Basic plan with limited features",
        "Pro plan with more features",
        "Enterprise grade advanced tools"
    ]
)

st.info(f"You selected: {option}")

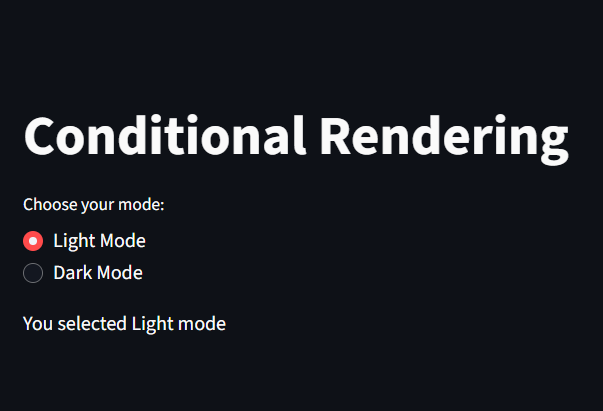
Conditional rendering
Here, we conditionally display a text depending on which “choice” is selected.
					import streamlit as st

st.title("Conditional Rendering")

choice = st.radio("Choose your mode:", ["Light Mode", "Dark Mode"])

if choice == "Light Mode":
    st.write("You selected Light mode")
else:
    st.write("You selected Dark mode")
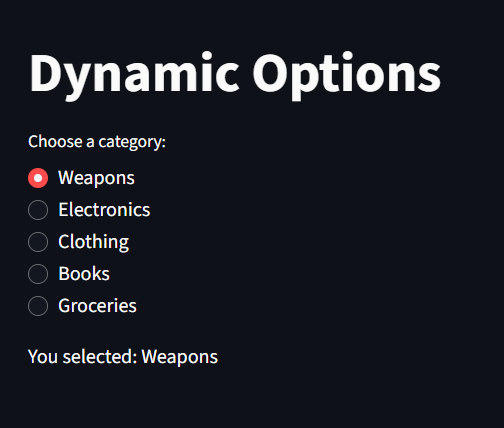
Dynamic Options
					import streamlit as st

st.title("Dynamic Options")

categories = ["Weapons", "Electronics", "Clothing", "Books", "Groceries"]

selected = st.radio("Choose a category:", categories)
st.write(f"You selected: {selected}")
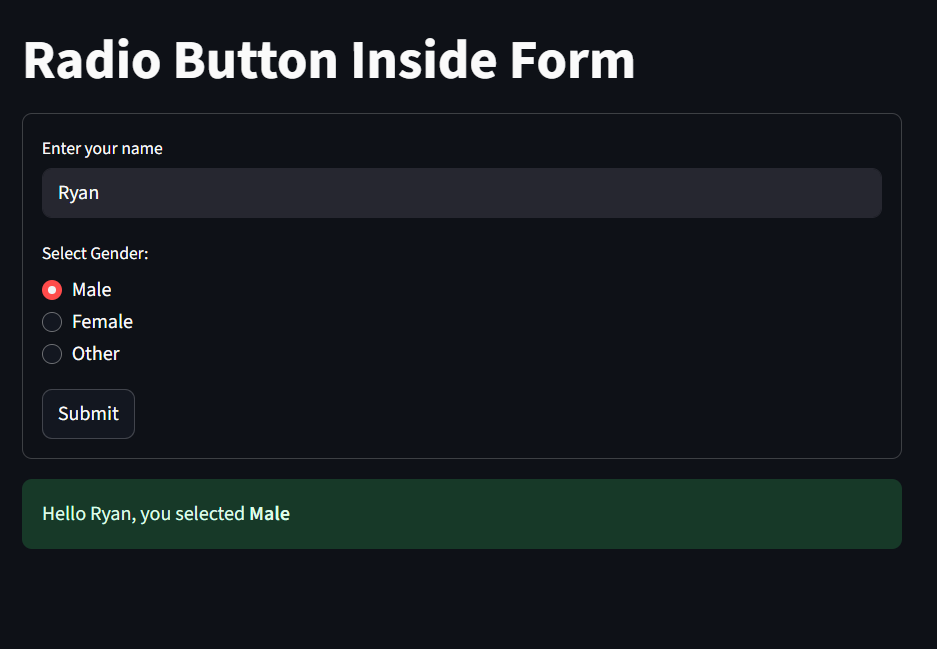
Using st.radio in Forms
we can use streamlit radio buttons inside several streamlit components including forms
					import streamlit as st

st.title("Radio Button Inside Form")

with st.form("user_form"):
    name = st.text_input("Enter your name")
    gender = st.radio("Select Gender:", ["Male", "Female", "Other"])
    submitted = st.form_submit_button("Submit")

if submitted:
    st.success(f"Hello {name}, you selected **{gender}**")
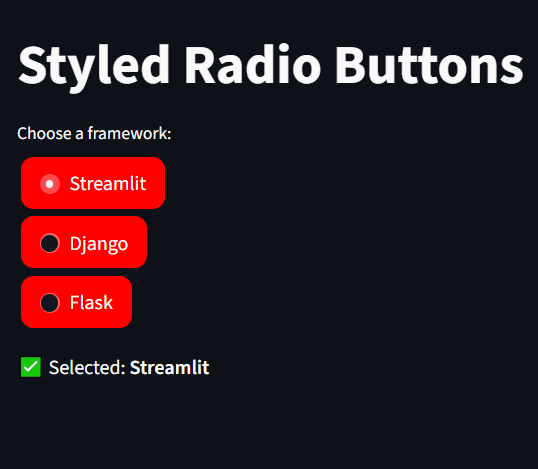
Custom Radio Button colors
we can also use st.markdown to tweak the colors of radio buttons
					import streamlit as st

st.markdown("""
    <style>
    div[role="radiogroup"] > label {
        background-color: red;
        border-radius: 10px;
        padding: 8px 15px;
        margin: 3px;
        cursor: pointer;
        transition: all 0.3s;

    }
    div[role="radiogroup"] > label:hover {
        background-color: #4CAF50;
        color: white;
    }
    </style>
""", unsafe_allow_html=True)

st.title("Styled Radio Buttons")

option = st.radio("Choose a framework:", ["Streamlit", "Django", "Flask"])
st.write(f"✅ Selected: **{option}**")