Streamlit’s st.button() is the simplest way to create a button in your Streamlit app. It returns a boolean value indicating whether the button was clicked.
It is the simplest way to add interactivitiyy to your app.
It creates a clickable UI element that returns True only during the moment it’s clicked.
Need a streamlit developer? Click here
1. Introduction to Streamlit Buttons
We start by importing the Streamlit library.
					import streamlit as st

if st.button('Click me!'):
    # If the button is clicked, we display a message.
    st.write('Button clicked!')
else:
    # If the button is not clicked, we display a different message.
    st.write('Button not clicked yet.')

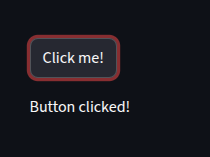
The button will only return True for the moment it is clicked, so the message will change accordingly.
The buttons do not stay “pressed”, they only register True for one rerun of the script after being clicked.
This is useful for triggering actions or displaying messages based on user interaction.
2. Button Parameters
Streamlit buttons can take several parameters to customize their appearance and behavior.
– `key`: A unique key for the button, useful for managing state in more complex apps.
– `help`: A tooltip that appears when the user hovers over the button.
– `on_click`: A callback function that is called when the button is clicked.
– `args`: Arguments to pass to the callback function.
– `disabled`: A boolean to disable the button.
– `type`: The type of button, which can be ‘primary’ or ‘secondary’.
– `label`: The text displayed on the button.
– `icon`: An icon to display on the button, which can be a string or an icon object.
– `use_container_width`: A boolean to make the button take the full width of its container.
– `width`: The width of the button in pixels.
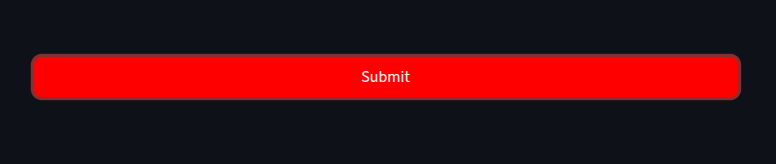
					st.button(
    "Submit",
    key="submit_btn",
    help="Click to submit your data",
    type="primary",
    use_container_width=True
)
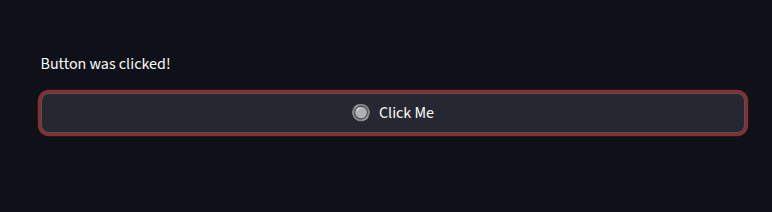
					st.button(
    "Click Me",
    key="click_me_btn",
    help="This is a clickable button",
    on_click=lambda: st.write("Button was clicked!"),
    disabled=False,
    type="secondary",
    icon="🔘",
    use_container_width=True,
    width=200
)
3. Persistent State with Buttons
Streamlit buttons do not maintain state across reruns by default. However, you can use the `st.session_state` to keep track of button clicks and maintain state.
This is useful for creating interactive applications where you want to remember user actions across different interactions.
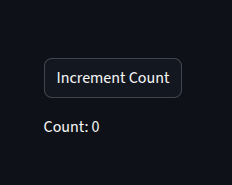
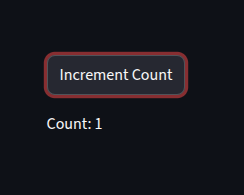
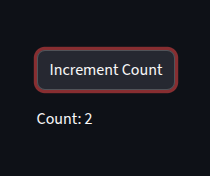
					if "count" not in st.session_state:
    st.session_state.count = 0

if st.button("Increment Count"):
    st.session_state.count += 1

st.write(f"Count: {st.session_state.count}")
Here, we initialize a session state variable `count` to keep track of the number of times the button has been clicked.
When the button is clicked, we increment the count and display it.
This allows the button to maintain its state across reruns of the script, making it useful for interactive applications.
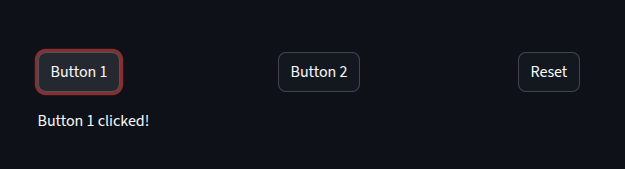
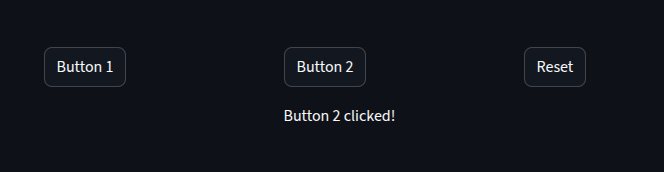
4. Multiple Buttons
You can create multiple buttons side-by-side using st.columns().
col1, col2, col3 = st.columns(3)
					with col1:
    if st.button("Button 1"):
        st.write("Button 1 clicked!")

with col2:
    if st.button("Button 2"):
        st.write("Button 2 clicked!")

with col3:
    if st.button("Reset"):
        st.session_state.clear()

5. Buttons with Functions.
A function can be called when a button is clicked, allowing you to perform actions or update the app’s state.
					def greet(name):
    st.success(f"Hello, {name}!")

name = st.text_input("Enter your name:")
if st.button("Greet"):
    if name:
        greet(name)
    else:
        st.warning("Please enter your name before clicking the button.")

In this example, when the “Greet” button is clicked, it calls the `greet` function with the name entered in the text input.
If no name is entered, it displays a warning message.
6. Download Button
Streamlit provides a convenient way to create a download button for files or data.
					df = pd.DataFrame({
    "Name": ["Alice", "Bob", "Charlie"],
    "Age": [25, 30, 35],
    "City": ["New York", "Los Angeles", "Chicago"]
})


csv = df.to_csv(index=False)

st.write("Download the DataFrame as a CSV file:")
st.download_button(
    label="Download CSV",
    data=csv,
    file_name="data.csv",
    mime="text/csv",
    key="download_csv"
)
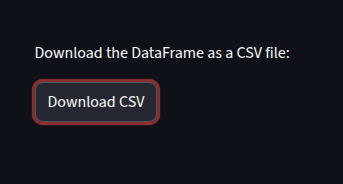
This code creates a DataFrame and provides a button to download it as a CSV file.
7. Styling Buttons (Custom CSS)
Streamlit does not natively support custom CSS for buttons, but you can use the `st.markdown` function to inject custom styles.
					st.markdown("""
    <style>
    div.stButton > button:first-child {
        background-color: green;
        color: white;
        font-size: 18px;
    }
    </style>
""", unsafe_allow_html=True)

st.button("Styled Button")
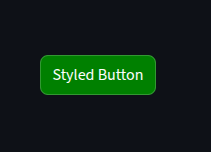
This code injects custom CSS to style the button with a green background and white text.
8. Form Submission
When combining buttons with forms, you can create a more complex interaction where users can submit data.
					with st.form("my_form"):
    name = st.text_input("Enter your name:")
    age = st.number_input("Enter your age:", min_value=0, max_value=120)
    submit_button = st.form_submit_button("Submit")

    if submit_button:
        st.write(f"Name: {name}, Age: {age}")
        st.success("Form submitted successfully!")
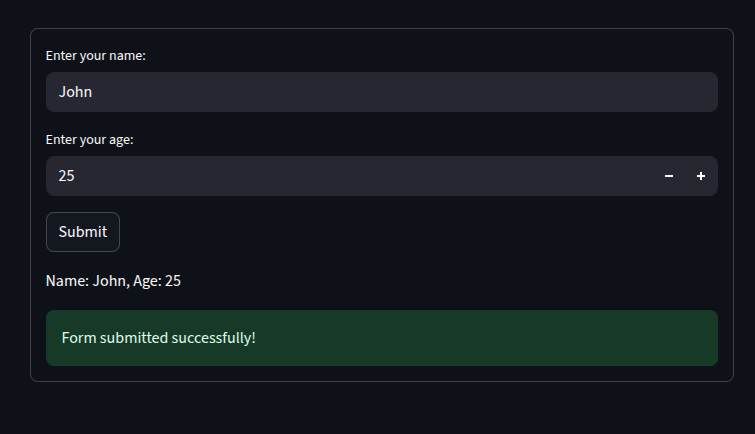
This code creates a form with text input and number input fields, along with a submit button.
When the form is submitted, it displays the entered name and age, along with a success message.
This example demonstrates how to use buttons within a form context, allowing for more structured user input and submission handling.
9. Button + API Calls
Trigger backend requests with a button click.
					if st.button("Get Joke"):
    res = requests.get("https://official-joke-api.appspot.com/random_joke")
    if res.status_code == 200:
        joke = res.json()
        st.write(f"{joke['setup']} — {joke['punchline']}")
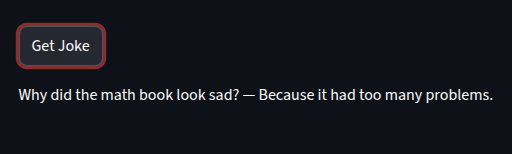
This code snippet demonstrates how to use a button to trigger an API call to fetch a random joke.
When the button is clicked, it sends a GET request to the joke API and displays the joke if the request is successful.
This example shows how buttons can be used to interact with external services or APIs in a Streamlit app.
if
You want to learn more about streamlit: Click here
You can watch the video below for more Streamlit content. Thanks for reading!
