How to Use the n8n RSS Feed Node: Read, Trigger, and Build Real Workflows (2026)
The n8n RSS node lets you pull content from any RSS feed directly into your workflow. Whether you want to monitor competitor blogs, track AI research, or automatically email yourself whenever a company publishes something new, both the RSS Read node and the RSS Feed Trigger handle it natively — and the n8n RSS feed read node documentation walks through every configuration option.
This guide covers both nodes with step-by-step setup, explains the difference between them, and walks through a complete real-world workflow: monitoring multiple RSS sources and sending an AI-generated HTML email newsletter automatically.
What Is the n8n RSS Feed Node?
The n8n RSS feed node is a built-in core node that reads content from any standard RSS or Atom feed URL. It returns structured data for each feed item, including title, link, publish date, content, and summary — ready to use in any downstream node.
n8n actually ships two separate RSS nodes:
- RSS Read — a manual or scheduled node that fetches items from a feed on demand.
- RSS Feed Trigger — a trigger node that watches a feed and automatically starts your workflow whenever a new item is published.
The RSS Read node is the right choice when you want to pull a batch of items as part of a larger workflow (like building a weekly digest). The RSS Feed Trigger is the right choice when you want to react to new content in real time (like logging new posts to a spreadsheet the moment they go live).
Join Our AI Community
How to Find the RSS Feed URL for Any Website
The hardest part of using RSS in n8n is actually locating the feed URL — it is not always obvious or easy to find. Here are the most reliable methods:
1. Try common URL patterns first. Many sites follow standard conventions: /feed, /rss, /rss.xml, or /feed.xml appended to the domain. For example, n8n’s blog feed is blog.n8n.io/rss and OpenAI’s is openai.com/blog/rss.xml.
2. Search Google with the site name + ‘RSS feed’. This often surfaces the feed URL directly or leads to a help article with it.
3. Use Perplexity or Claude. Prompt it: ‘What is the RSS feed URL for [website]?’ This is often faster than manual hunting, especially for niche sites.
4. Check the page source. RSS feed links are sometimes embedded in the HTML head as a <link rel=‘alternate’> tag. Open the page source (Ctrl+U) and search for ‘rss’.
Note that different websites expose different fields in their RSS output. OpenAI’s feed includes title, link, pubDate, content, contentSnippet, and isoDate. Microsoft’s research feed also includes creator, categories, and encoded fields. Always run a test execution in n8n to see exactly what fields your specific feed returns before building logic around them.
How to Set Up the n8n RSS Read Node
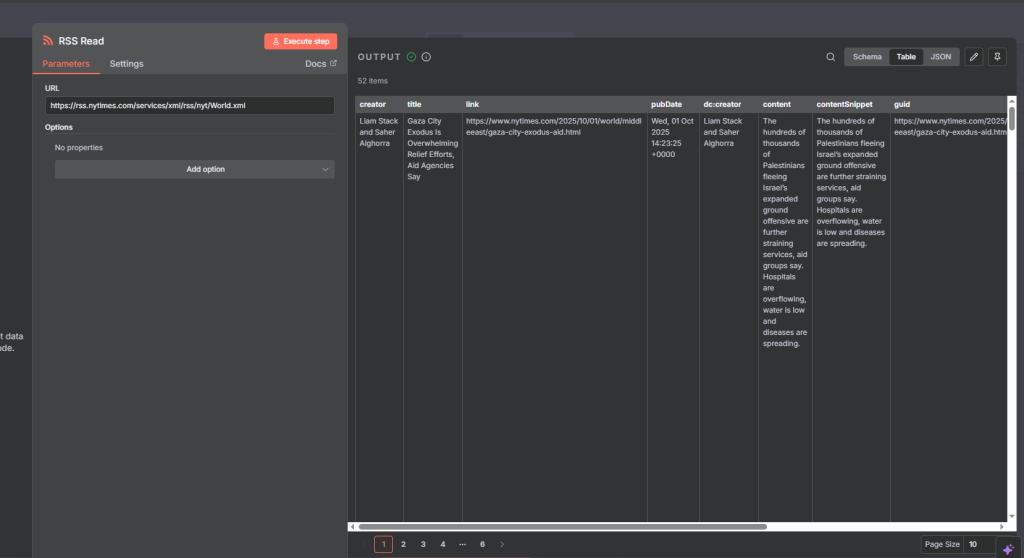
The RSS Read node has a minimal configuration — just a URL and a few optional settings. The n8n RSS read node documentation lists only two optional settings beyond the required URL. Here is how to set it up:
1. Open your workflow and click the + button to add a new node.
2. Search for ‘RSS’ and select RSS Read.
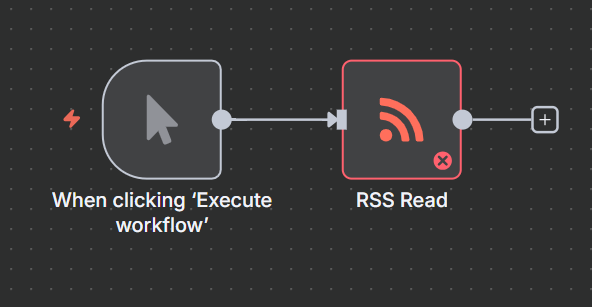
3. In the URL field, paste your RSS feed URL (e.g., https://openai.com/blog/rss.xml).
4. Click Execute step to test it. n8n will fetch the current feed items and display them as output items.
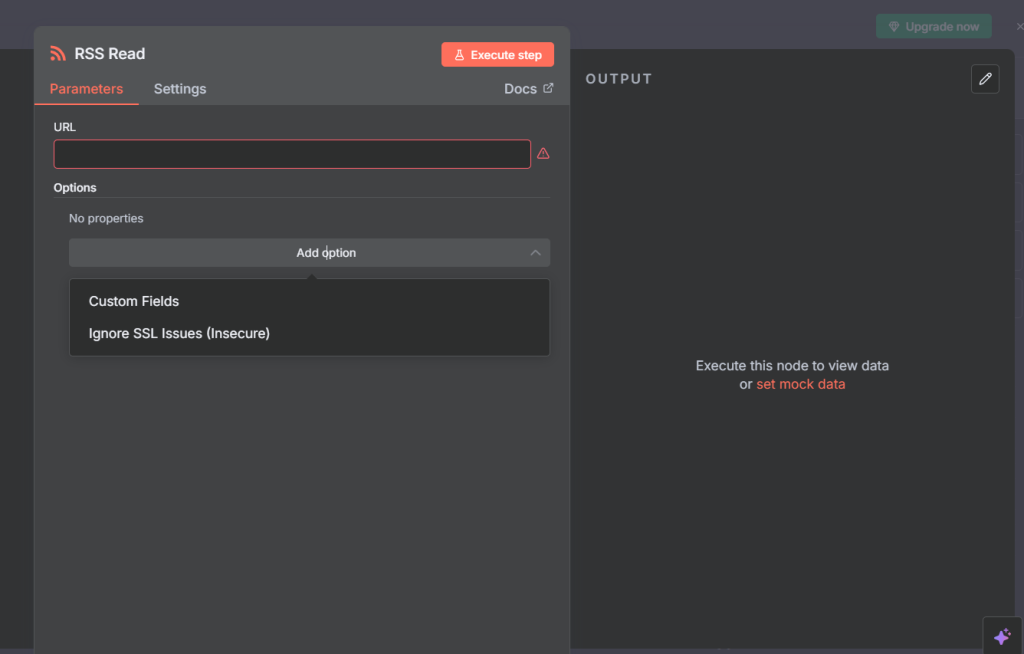
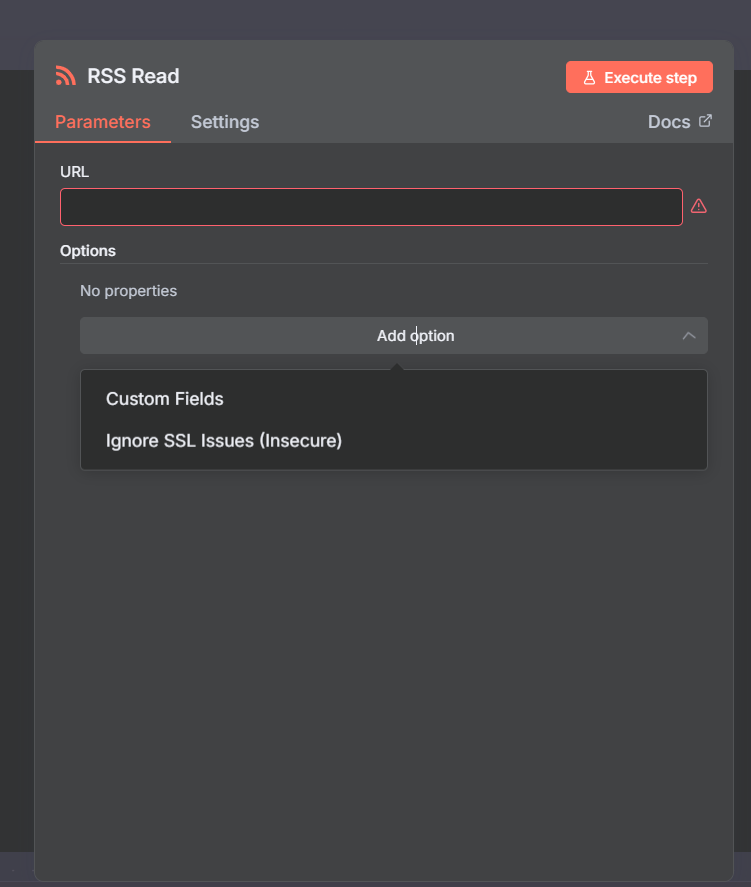
The n8n RSS read node docs list two optional settings under Add Option:
- Custom Fields — Map additional fields from the raw feed XML into named output properties.
- Ignore SSL Issues — Disable SSL verification for feeds served over self-signed or expired certificates.
The n8n RSS read node documentation confirms the default output includes: title, link, pubDate, content, contentSnippet, isoDate, and guid. The content field contains the full article HTML; contentSnippet is a plain-text excerpt. Use contentSnippet when passing to an AI node to keep token usage reasonable.
Build an AI Email Newsletter From Multiple RSS Feeds
Here is a complete workflow that monitors two RSS feeds (OpenAI and Microsoft Research), pulls the latest articles, summarizes them with AI, and sends a formatted HTML email. This is one of the most practical patterns covered in the n8n RSS feed read node documentation — useful for any case where you want to stay on top of multiple sources automatically.
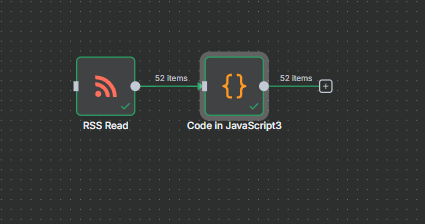
Step 1: Add an RSS Read Node for Each Source
Start with a Manual Trigger node for testing. Add one RSS Read node per source. Set each one to the appropriate feed URL:
- OpenAI blog: https://openai.com/blog/rss.xml
- Microsoft Research: https://www.microsoft.com/en-us/research/feed/
Run each node individually to confirm it returns items before building the rest of the workflow.
Step 2: Limit the Output With the Limit Node
RSS feeds can return dozens or hundreds of items. Add a Limit node after each RSS Read node and set it to keep the first 2 items. This prevents flooding the AI node with too much content and keeps the email a manageable length.
The Limit node has two options: Keep First Items (most recent, since feeds are typically newest-first) or Keep Last Items. For a news digest, Keep First Items is what you want.
If you want the oldest items first instead, add a Sort node before the Limit node to reorder by publish date.
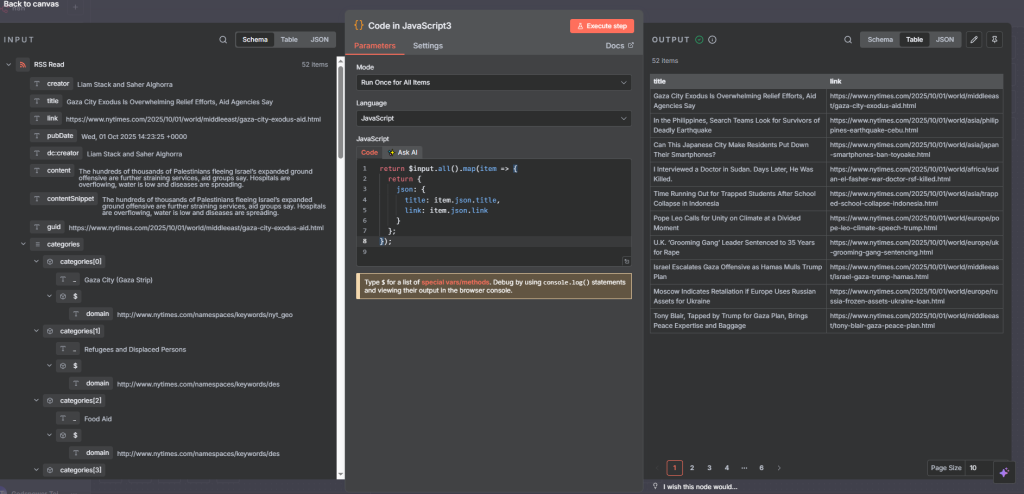
Step 3: Standardize Fields With the Edit Fields (Set) Node
Different RSS feeds use different field names. OpenAI uses ‘content’; Microsoft uses ‘encoded’. To merge the two feeds cleanly, add an Edit Fields (Set) node after each Limit node and map the fields you want to keep into consistent names:
- title → title
- contentSnippet → content
- link → link
Do this for both branches. Use the same field names in both Set nodes — this is required for the Merge node to work correctly in the next step.
Step 4: Merge Both Branches With the Merge Node
Add a Merge node and connect both Edit Fields outputs to it. Set the Mode to Append. This stacks the items from both feeds on top of each other into a single list.
With two RSS sources each limited to 2 items, you get 4 total items out of the Merge node — one for each article you want to include in the email.
The key reason Edit Fields was necessary: if your two sources had different field names going into the Merge node, Append mode would create mismatched output with some items missing fields. Standardizing first avoids this.
Step 5: Combine Items With the Summarize Node
The AI Agent node works best when it receives a single item rather than a list. Add a Summarize node and use the Concatenate aggregation to merge all title, content, and link fields into one combined item.
Set the separator to a new line to keep the fields readable when they land in the AI prompt.
Step 6: Generate the Email HTML With an AI Agent Node
Add an AI Agent node. Write a prompt that instructs the agent to format the articles as an HTML email. Include an HTML template in the prompt so the output is structured and consistent.
A simple effective prompt: You are an email newsletter writer. Use the title, links, and content below to fill out the HTML template. Keep each summary to one sentence.
Paste a basic HTML template with placeholder slots for title, link, and summary for each article. If you are not familiar with HTML, generate a template with Claude or ChatGPT and paste it directly into the prompt.
Step 7: Send the Email
Add a Gmail or Email node after the AI Agent. Set the Operation to Send, enter your email address, add a subject line, and map the AI output (the generated HTML) to the HTML Body field.
To remove the ‘Sent with n8n’ footer from outgoing emails, go to the node settings and turn off Append Attribution.
Here is the complete email newsletter workflow:
Join Our AI Community
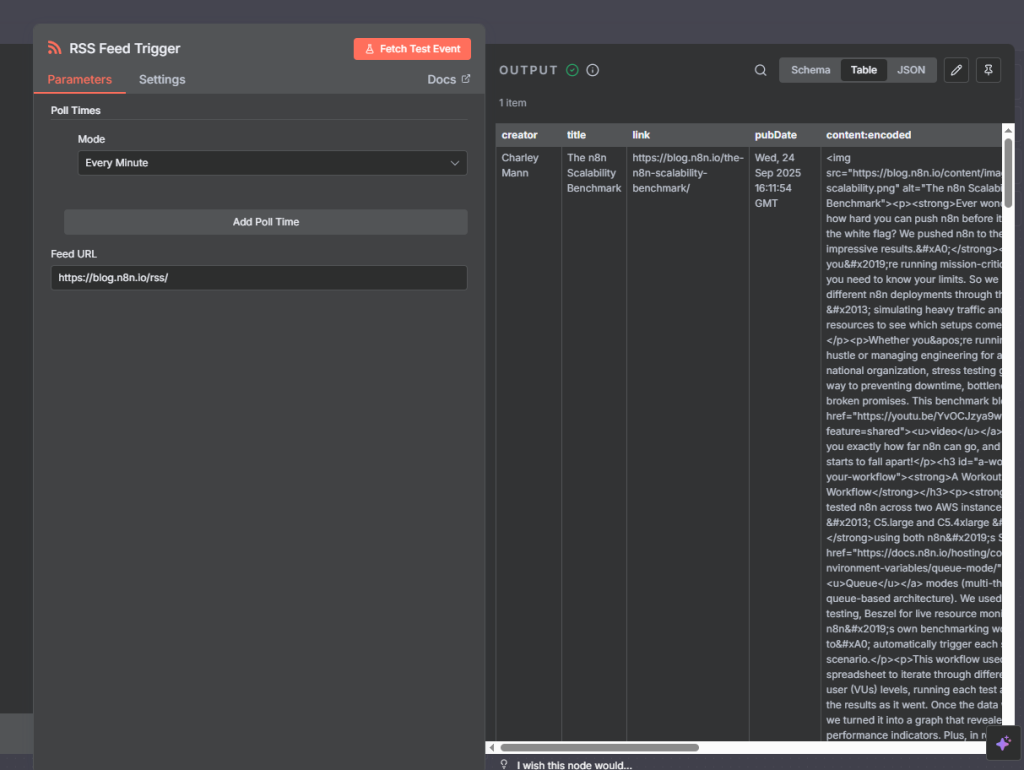
How to Set Up the n8n RSS Feed Trigger
Per the n8n RSS feed trigger node documentation, the RSS Feed Trigger watches a feed and starts your workflow automatically when a new item is published. Instead of pulling items on demand, n8n polls the feed on a schedule and fires the workflow only when it detects new content.
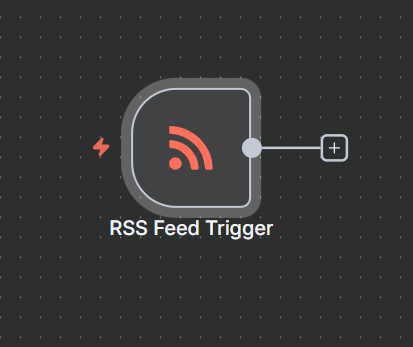
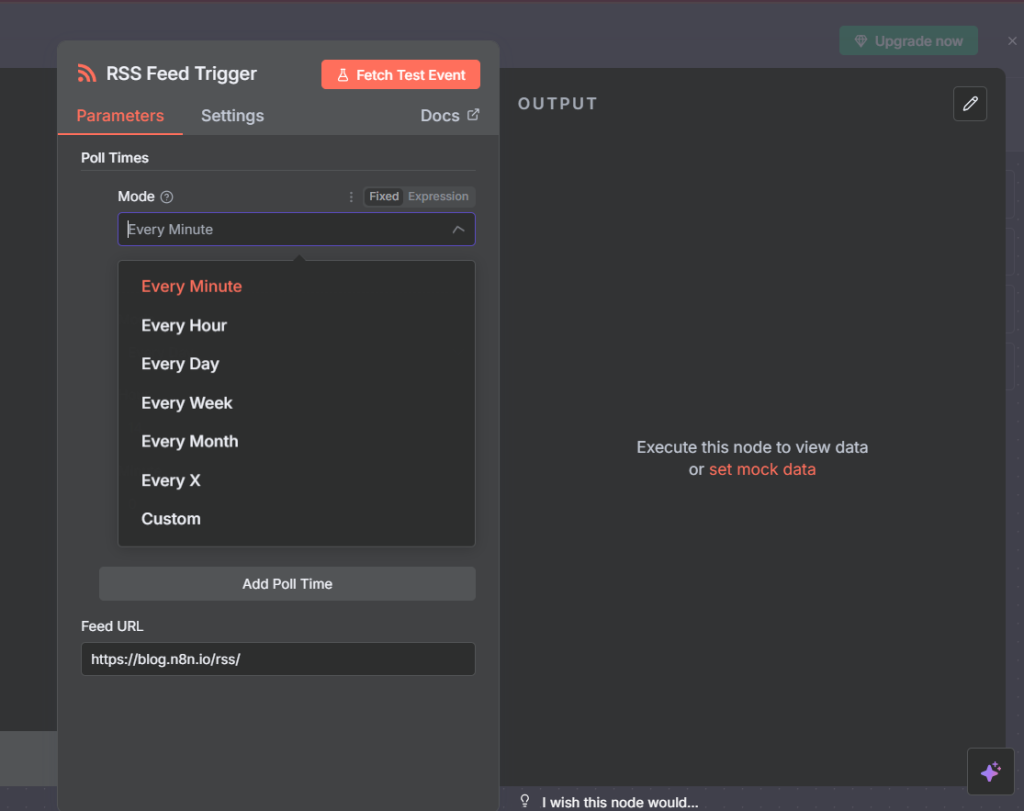
1. Add the RSS Feed Trigger as the first node in a new workflow.
2. Enter the feed URL you want to monitor.
3. Connect it to whatever you want to happen when new content appears — a Google Sheets append, a Slack message, an email, or anything else.
4. Publish the workflow. In n8n v2, workflows must be published (not just saved) for triggers to activate. An unpublished workflow will not fire.
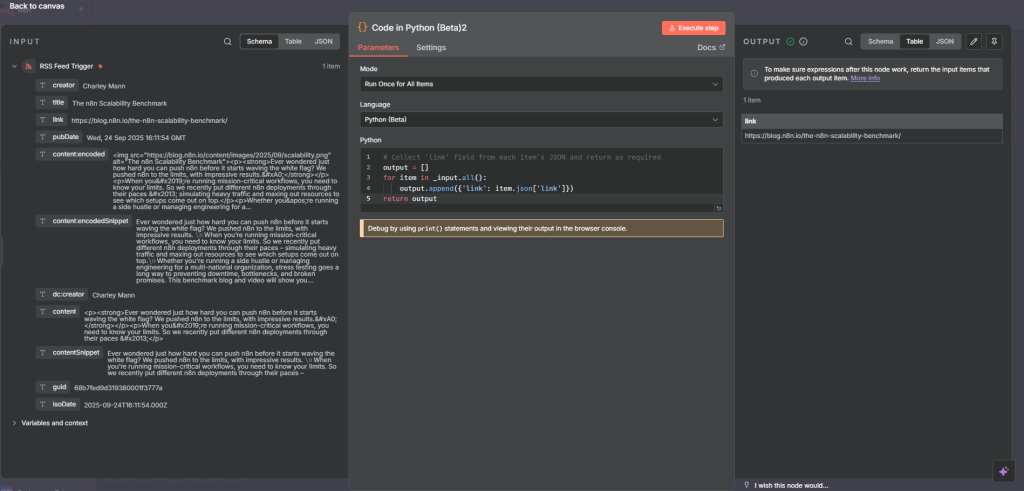
A practical example: monitor the n8n blog at blog.n8n.io/rss and append each new post’s title, link, and publish date to a Google Sheets document. Every time n8n publishes something, the row gets added automatically with no manual effort.
This is a lightweight alternative to the email newsletter workflow above for cases where you just want a running log of new content rather than a formatted digest. Refer to the n8n RSS read node docs for additional trigger configuration options.
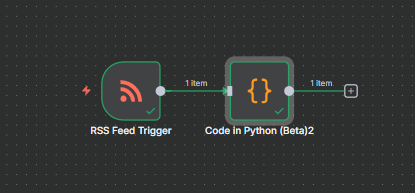
Here is the complete trigger workflow:
n8n RSS Feed Node Output Fields Explained
The n8n RSS read node documentation explains that fields returned vary by source, but most standard RSS feeds return a consistent set. Here is what to expect:
- title — The headline of the article or post.
- link — The full URL to the article.
- pubDate — Publication date as a human-readable string (e.g., ‘Mon, 25 Mar 2026 10:00:00 GMT’).
- isoDate — The same date in ISO 8601 format, useful for date comparisons and sorting.
- content — Full article HTML. Can be very long — use contentSnippet for AI prompts.
- contentSnippet — Plain-text excerpt of the article. Ideal for AI summarization.
- guid — A unique identifier for the item, used internally for deduplication.
- creator — Author name, if included in the feed (common in Microsoft and WordPress feeds).
- categories — Tags or categories assigned to the article, if present.
Not every RSS feed includes all these fields. Always run a test execution on a new feed to confirm which fields are actually populated before writing logic that depends on specific field names.
Frequently Asked Questions
What is the difference between RSS Read and RSS Feed Trigger in n8n?
RSS Read is an action node — it fetches items from a feed when your workflow runs, either manually or on a schedule you control. RSS Feed Trigger is a trigger node — n8n polls the feed automatically and starts the workflow the moment new content appears. Use RSS Read for scheduled digests; use RSS Feed Trigger for real-time monitoring.
How do I find the RSS feed URL for a website?
Try appending /feed, /rss, or /rss.xml to the domain. If that does not work, ask an AI tool like Claude or Perplexity: ‘What is the RSS feed URL for [website]?’ You can also check the page source for a <link rel=‘alternate’> tag.
Can I monitor multiple RSS feeds in one n8n workflow?
Yes. Add one RSS Read node per feed, run each through a Limit node and an Edit Fields node to standardize the output, then connect them all to a Merge node set to Append mode. This stacks all items into one list for downstream processing.
Why is my n8n RSS Feed Trigger not firing?
The most common reason is that the workflow has not been published. In n8n v2, a workflow must be in the Published state for triggers to activate — saving alone is not enough. Open the workflow, click Publish, and confirm the status shows as Active.
How do I limit the number of items from an n8n RSS feed?
Add a Limit node directly after your RSS Read node. Set Keep to ‘First Items’ and enter the maximum number of items you want (for example, 2 for a digest). If you want the oldest items instead of the newest, add a Sort node before the Limit node to reorder by publish date first.
Next Steps
The RSS feed node is a solid building block for content monitoring workflows. From here, a few useful directions:
- Swap the email step for a Slack message to post new articles directly to a team channel.
- Add a filter before the AI Agent to only process articles that contain specific keywords — useful for filtering a high-volume feed down to only relevant content.
- Connect multiple RSS sources to build a broader industry digest covering 5-10 feeds at once, not just two.
- Use the RSS Feed Trigger with a Google Sheets append to build a running log of competitor or industry content for SEO gap analysis.
RSS is one of the more underused automation sources in n8n. Most websites and blogs still publish feeds even if they do not advertise them, which means almost any content monitoring workflow is possible with these two nodes.
