n8n Split Out Node: Complete Guide with 4 Real Examples
The n8n Split Out node is one of the most underrated features in n8n — and one of the most powerful once you understand it. Its job is simple: take a single item that contains a list, and break it into individual items so you can process each one separately.
In this guide, we walk through four practical examples: splitting JSON data, working with Google Sheets, splitting arrays, and combining sheets with arrays. By the end, you’ll know exactly when to reach for Split Out and how to use it confidently in your own workflows.
What Is the n8n Split Out Node?
The Split Out node takes one item (or multiple items) that contain a list or array, and expands each element into its own separate item. Think of it as a one-to-many operation — one item goes in, multiple items come out.
This matters because n8n processes data item by item downstream. If you have a list nested inside a single item — like 5 tasks in a JSON array, or 3 songs per band row in a spreadsheet — you can’t apply conditional logic, send individual notifications, or route each one separately until you split them out first.
Common real-world use cases include: sending personalized emails from a contact list, processing API responses that return grouped records, routing tasks by priority, and expanding spreadsheet rows that contain arrays into individual records.
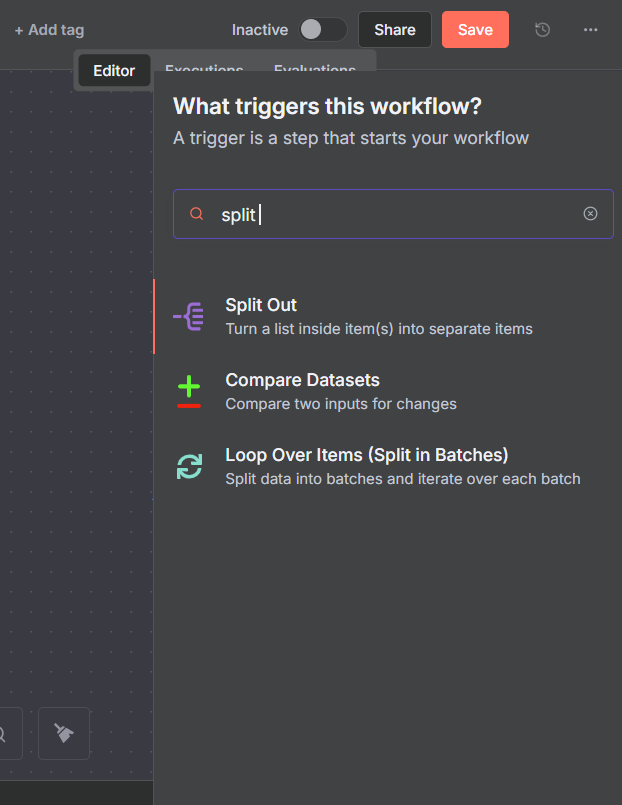
Finding the Split Out Node (and Supporting Nodes)
To find the Split Out node in n8n, open the node panel and search for “split out”. Here are all the nodes you’ll use throughout these examples:
- Manual Trigger — to manually run the workflow during testing
- Edit Fields (Set) — to define or reshape data before splitting
- Split Out — the star of the show
- IF — for conditional branching after the split
- Google Sheets — to pull in spreadsheet rows
If you haven’t connected Google Sheets to n8n before, check out the Google Sheets setup guide on this channel before jumping into examples 2 and 4.
Example 1: Splitting JSON Data with an If/Else Branch
The most common use case for Split Out: you have a JSON object containing a list, and you need to process each item individually.
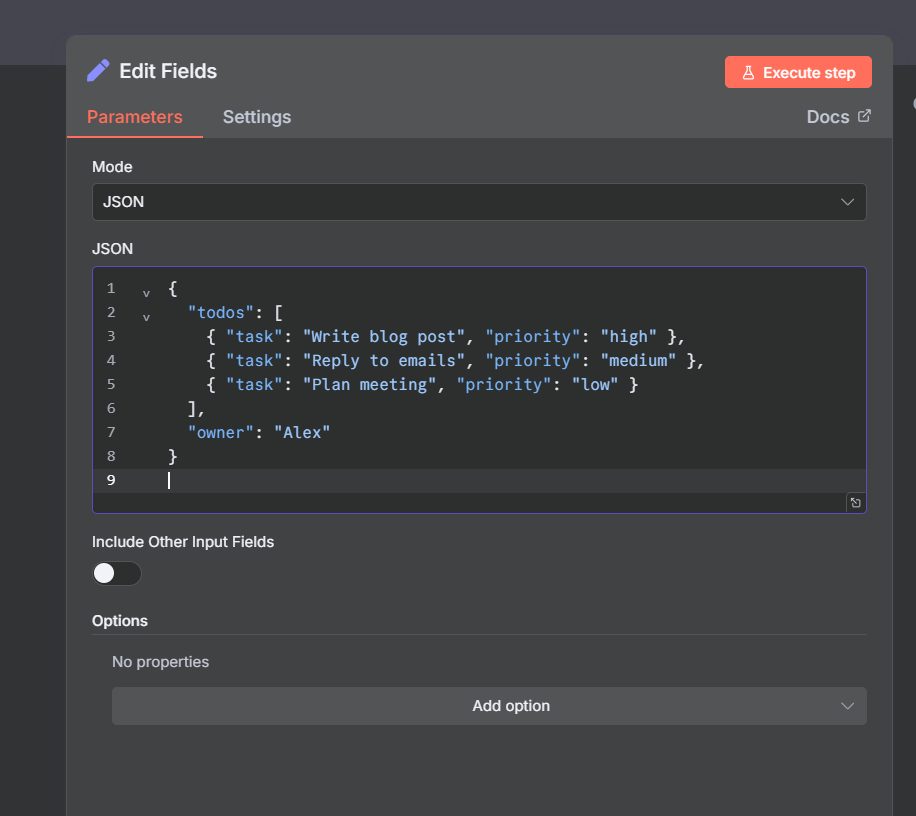
In this example, we create a set of to-do tasks using the Edit Fields node set to JSON mode:
{
"todos": [
{ "task": "Write a blog post", "priority": "high" },
{ "task": "Reply to emails", "priority": "medium" },
{ "task": "Plan meeting", "priority": "low" }
],
"owner": "Ryan"
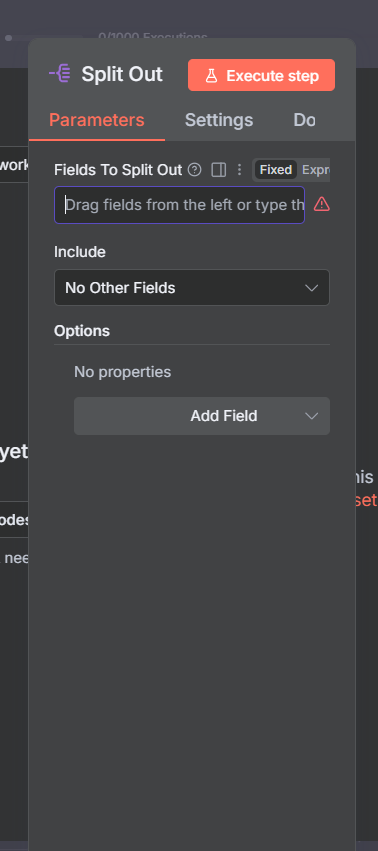
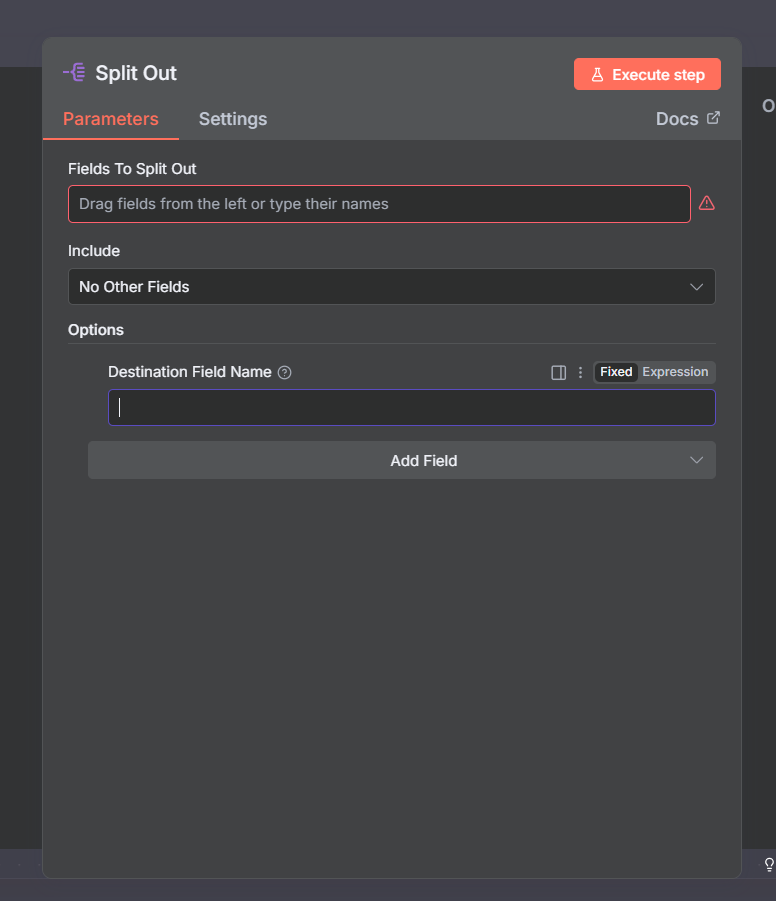
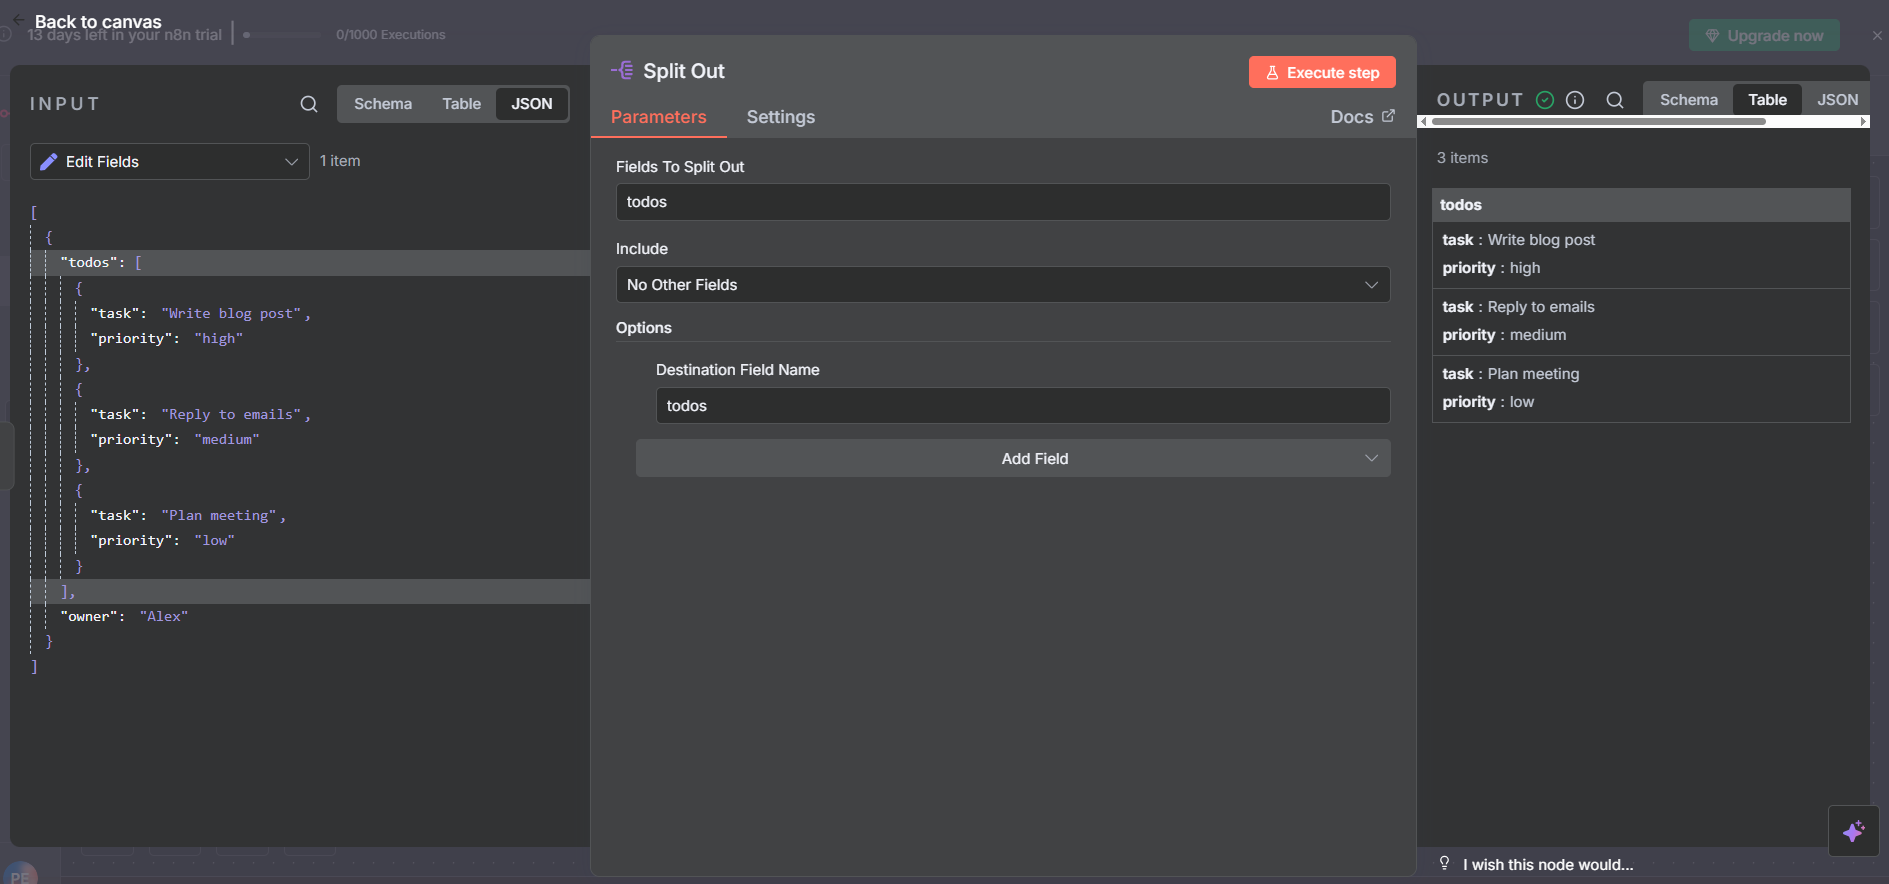
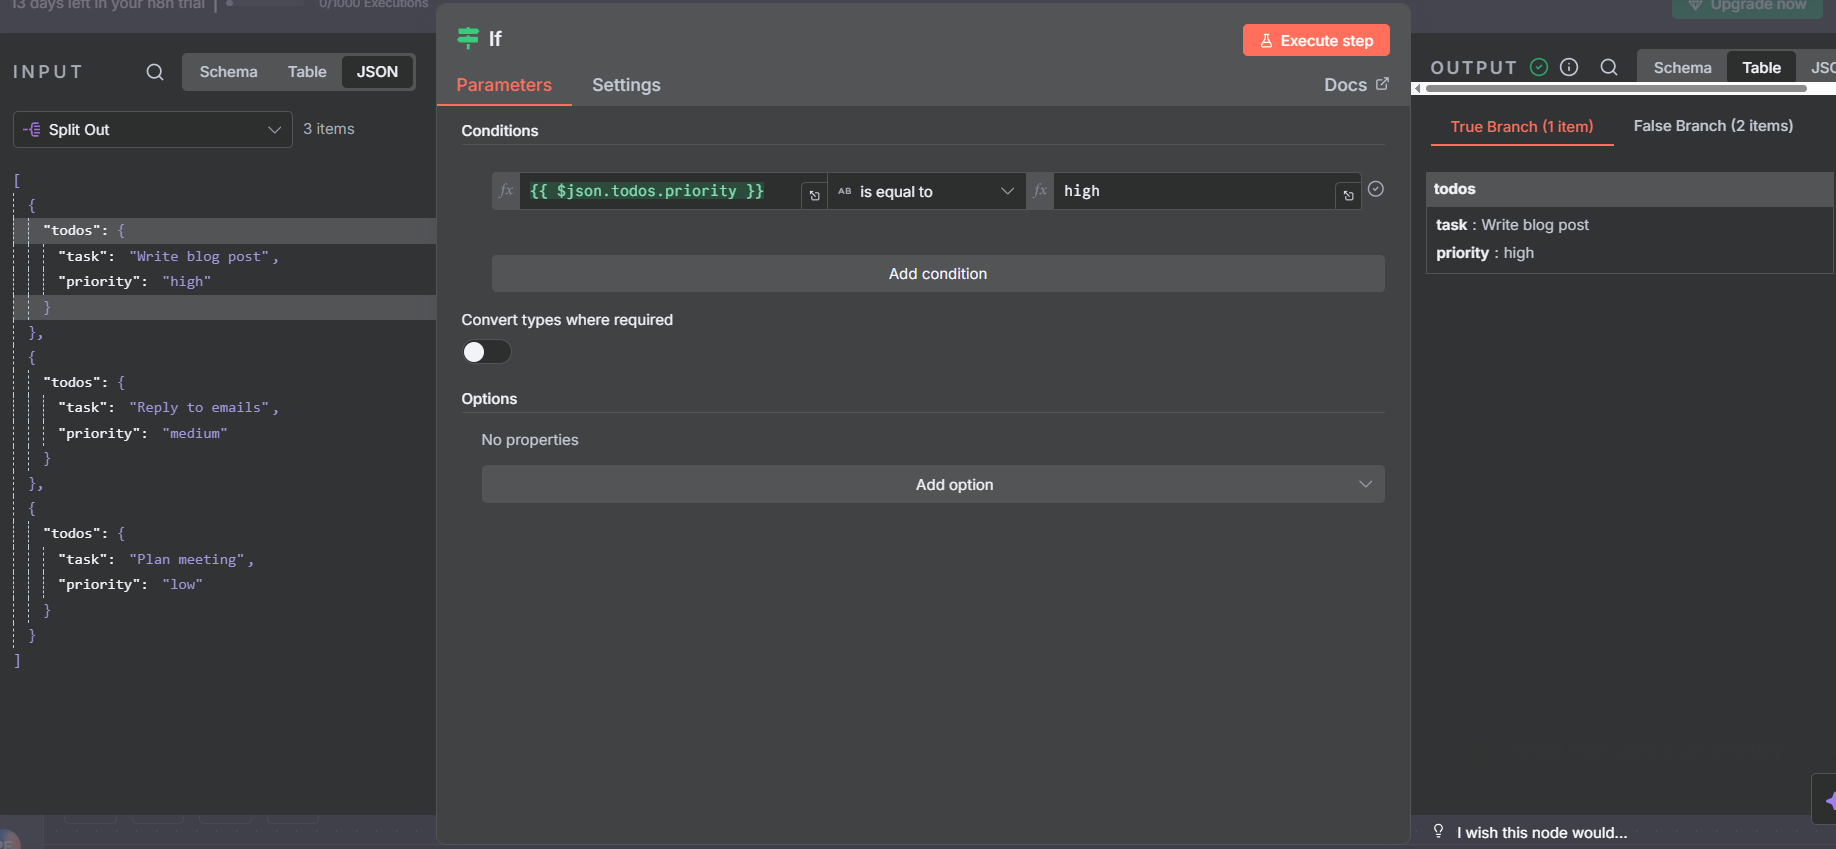
}This is one item with a nested array of three tasks. To use an IF node to route by priority, you first need to split out the todos field. In the Split Out node, set Field To Split Out to todos. Leave “Include” as “No other fields” — this drops the owner field and gives you three clean items, each with just task and priority.
Result: 1 item → 3 items, one per task.
Routing Split Items with an IF Node
Once you have three individual task items, you can plug them into an IF node to branch by priority. Set up two conditions with OR logic:
- Priority equals
high - Priority equals
medium
Items matching either condition go to the True branch (urgent tasks → maybe a Slack alert or calendar block). The low priority task routes to the False branch.
Result: 2 items in True, 1 item in False. This kind of per-item routing is impossible without Split Out — you can’t apply conditional logic to individual elements of a nested list until you’ve broken it apart first.
Join Our AI Community
Example 2: Using Split Out with Google Sheets
Some people use Split Out directly after a Google Sheets node to filter down which columns they want. Here’s how it works: after reading your sheet with the Google Sheets node, you add Split Out, set a column as the field to split (e.g. band), and use the Include → Select Other Fields option to keep only the columns you want alongside it (e.g. genre and seen_live).
This effectively filters your spreadsheet to specific columns — if you have 10 rows and 5 columns, you get 10 items with just 3 columns. You can also choose All Other Fields to keep everything, which gives you the same output as the original (making Split Out pointless in that case).
Edit Fields (Set) vs Split Out for Spreadsheets
For Google Sheets column filtering, Edit Fields (Set) is the better approach. Here’s why:
With Edit Set, you drag and drop exactly the columns you want, you can change data types (strings to arrays, numbers, booleans), and the mapping is visually explicit — you can see at a glance what’s going in and what’s coming out. It keeps a clean 1:1 relationship (10 rows in, 10 items out) and gives you more control over field naming and types.
Split Out on spreadsheets makes more sense when one of your columns contains an array that you actually want to expand — which is exactly what Example 4 covers. If you’re just filtering columns, stick with Edit Set.
That said, you’ll encounter Split Out on spreadsheets when debugging other people’s workflows — so it’s worth understanding even if you wouldn’t build it that way yourself.
Example 3: Splitting a Plain Array
When one of your fields is an array, Split Out turns that array into individual items. Two ways to create an array in the Edit Fields node:
Option A — Manual mapping: Set the data type to Array, then enter values with square brackets and quoted strings:
["Hurt", "Closer", "Every Day Is Exactly the Same"]Option B — Expression: Switch to Expression mode and use a split pattern:
"Hurt,Closer,Every Day Is Exactly the Same".split(",")Both produce the same result. Then in the Split Out node, set the field to your array field name. You can also rename the output field — for example, rename array to song using the Destination Field Name setting. This makes downstream nodes much easier to read.
Result: 1 item with an array of 3 songs → 3 individual song items.
Join Our AI Community
Example 4: Google Sheets + Arrays — The Most Powerful Use Case
This is where Split Out really shines. Imagine a Google Sheets spreadsheet where each band row contains an array of songs. After reading the sheet with Google Sheets and using Edit Fields to set the songs column as an Array type (and keeping band and genre as strings), you get 10 items — one per band — each with an array of songs nested inside.
Now add a Split Out node targeting the songs field, and include band and genre as additional fields. Use Destination Field Name to rename songs to song for cleaner output.
Result: 10 rows × 3 songs each = 30 individual items, each with a song, band, and genre field. Every combination is now a separate item you can route, filter, or send anywhere downstream.
Understanding the Output: 10 Rows → 30 Items
After the split, your output looks like this:
{ "song": "Hurt",                   "band": "Nine Inch Nails", "genre": "Rock"     }
{ "song": "Closer",                 "band": "Nine Inch Nails", "genre": "Rock"     }
{ "song": "Every Day Is Exactly…",  "band": "Nine Inch Nails", "genre": "Rock"     }
{ "song": "Beggar",                 "band": "Matt Mason",      "genre": "Soft Rock" }
{ "song": "Where Owls Know My Name","band": "Rivers of Nihil", "genre": "Metal"    }
...
Each item is fully flat and self-contained. You can now filter by genre using an IF node, send each song to a database, run an AI lookup on each track individually, or build a playlist generator — whatever your workflow requires. The key insight: Split Out turns a many-in-one structure into a processable stream of individual records.
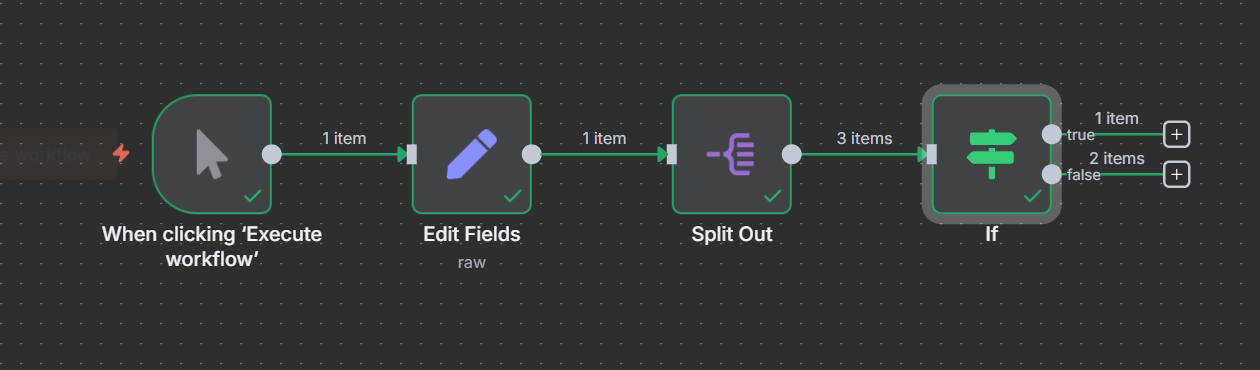
Full Workflow Overview
Here’s what the complete four-example workflow looks like end to end. Each example is self-contained: a Manual Trigger feeds into an Edit Fields node that sets up the source data, then Split Out expands the items, and optional IF/branching nodes handle the downstream logic.
The pattern is consistent across all four examples: set up your data → Split Out → process individual items. Once you internalize this pattern, you’ll spot Split Out opportunities in almost every workflow that handles lists, arrays, or grouped API responses.
When to Use Split Out vs Edit Set: Quick Reference
Use Split Out when: you have a nested list or array inside an item that you need to expand into individual items. Classic cases: JSON arrays, spreadsheet columns that contain arrays, API responses that return grouped records.
Use Edit Fields (Set) when: you’re filtering or reshaping columns from a Google Sheets read. Edit Set gives you better type control and a cleaner visual mapping for straight column selection.
Use both together: Example 4 shows the ideal pattern — Edit Set to read and type your spreadsheet data correctly (marking the array column as Array type), then Split Out to expand those arrays into individual rows.
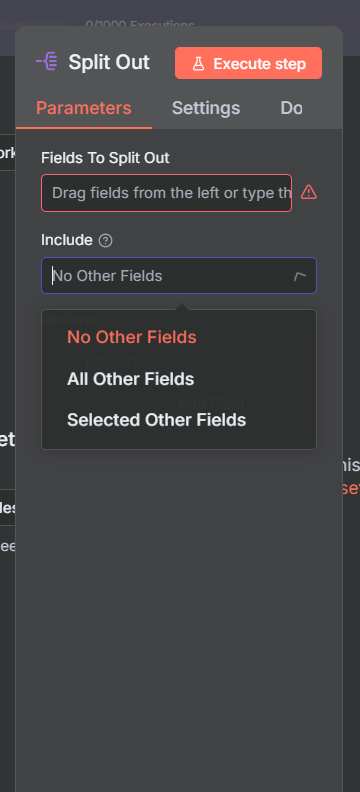
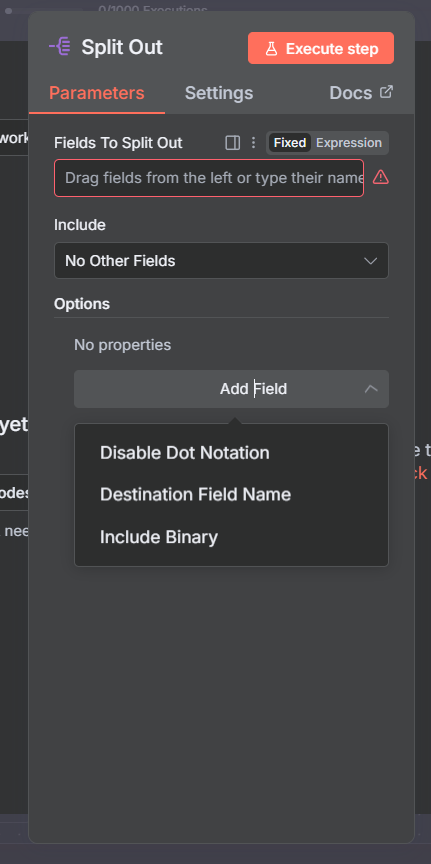
One final note: check the Include setting in Split Out carefully. “No other fields” strips everything except the split field. “Select other fields” lets you keep specific additional columns. “All other fields” keeps everything — useful but verbose.
Join Our AI Community
Frequently Asked Questions
What’s the difference between Split Out and Loop Over Items?
They work at different points in the flow. Split Out expands a nested list inside an item into separate items. Loop Over Items processes a set of already-separate items in batches. Use Split Out first to expand, then Loop Over Items if you need to batch-process the results.
Can I split multiple fields at once with Split Out?
No — the Split Out node targets one field at a time. If you need to split multiple different array fields, you’ll need separate Split Out nodes chained together or a Code node to pre-process the data into a single array first.
Why does Split Out remove my other fields?
By default, the Include setting is set to “No other fields”. Change it to “Select other fields” and pick the ones you want to keep alongside the split items, or choose “All other fields” to preserve everything.
Can I rename the output field from Split Out?
Yes — use the Destination Field Name setting in Split Out to rename the split field in the output. For example, if you’re splitting a field called songs into individual items, rename it to song so downstream nodes use the singular form.
When should I use Split Out with Google Sheets?
Only when a spreadsheet column actually contains an array you want to expand (like Example 4). For simple column filtering, use Edit Fields (Set) instead — it’s cleaner and gives you better type control.
Next Steps
Now that you understand the n8n Split Out node, here are the related nodes and guides to round out your knowledge:
- n8n Aggregate Node — the opposite of Split Out; combines multiple items back into one
- n8n Loop Over Items Node — process items in batches after splitting them out
- n8n Code Node — use JavaScript or Python to build custom arrays before splitting
- n8n HTTP Request Node — APIs often return nested arrays that Split Out can expand
The Split Out → Aggregate → Loop combination is the core data transformation toolkit in n8n. Master these three nodes and you can handle virtually any data shape that comes your way.
