The Form node in n8n makes it easy to collect structured data from users, teammates, or customers directly within your workflows. Unlike external form builders, n8n forms integrate seamlessly with your automations, whether you’re gathering feedback, handling approvals, or running multi-step intake processes.
This article walks you through what the n8n Form node can do, how to set it up, and advanced features like query parameters, hidden fields, and branching.
Before we start, if you are looking for help with a n8n project, we are taking on customers. Head over to our n8n Automation Engineer page.
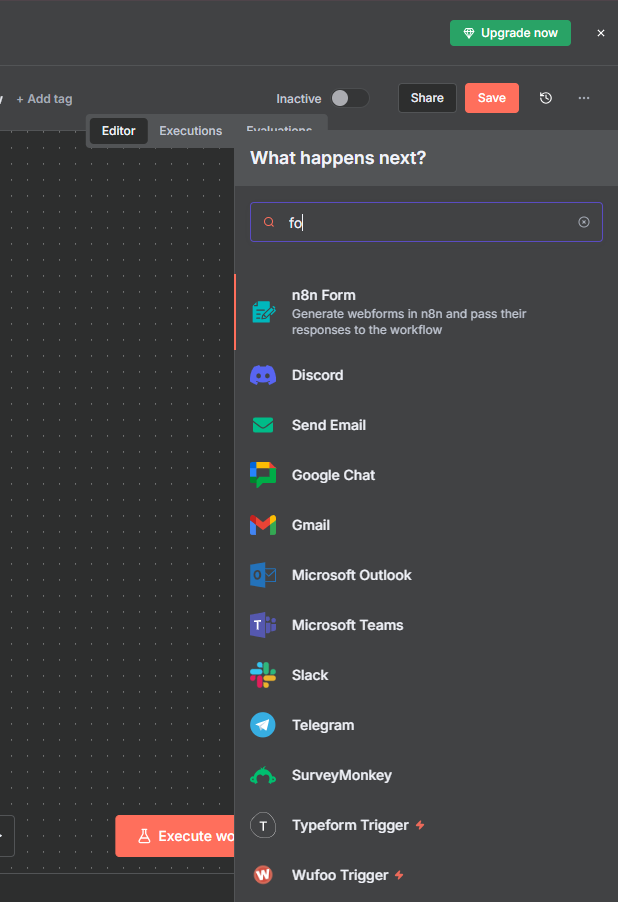
Starting With the Form Trigger
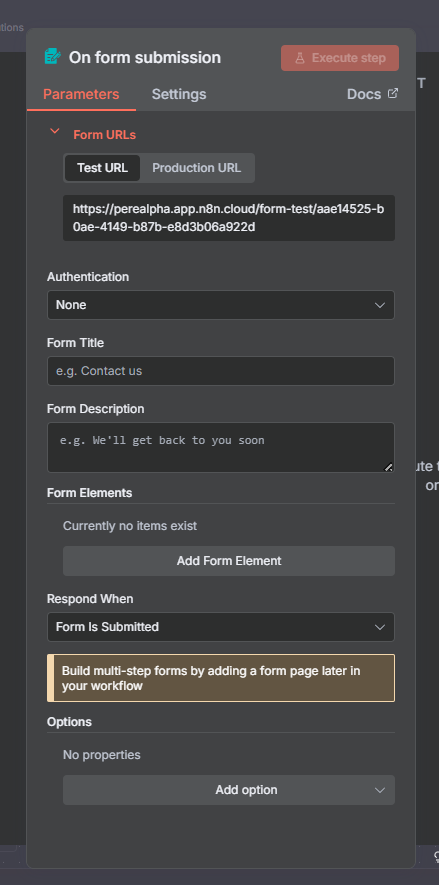
Every n8n form begins with the Form Trigger node. This node provides a unique test URL and production URL:
Test URL → Use this when building and debugging your workflow. It lets you see incoming data directly inside the editor.
Production URL → Use this when your form is ready to share with others. Submissions here won’t appear in the editor UI but will trigger your live workflow.
Once activated, your workflow will automatically run whenever a user submits the form.
Test and Prod url
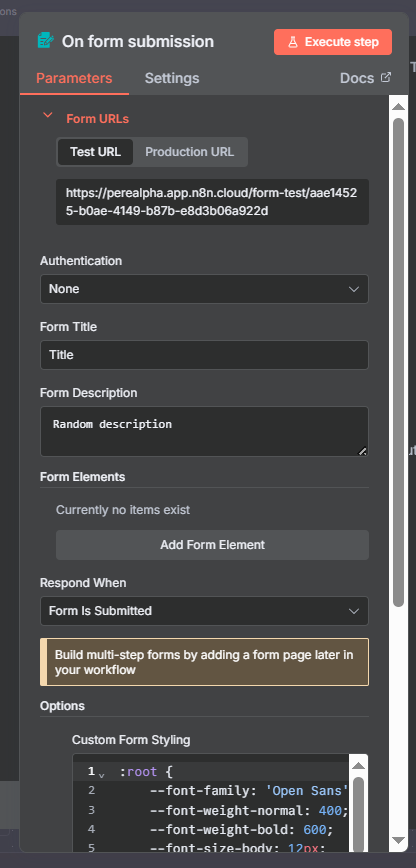
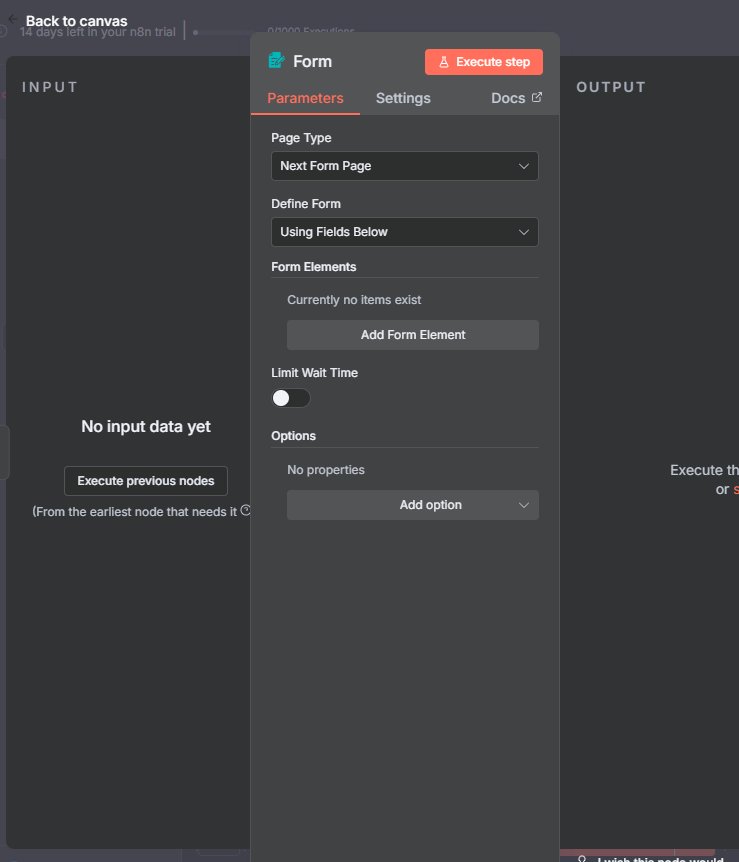
Setting Up the Form Node
The Form node defines the pages, fields, and logic of your form. Here’s what you can configure:
Basic Options
Form Title : The page title and main heading.
Form Description : A subtitle or instructions for users (supports HTML and line breaks).
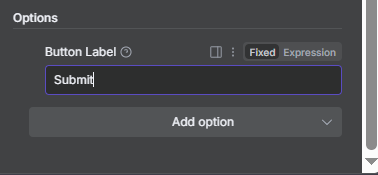
- Button Label : Custom text for the submit button
Custom Styling : Override default form styles with your own CSS.
Join Our AI Community
Defining Fields
You can define fields in two ways:
Using the UI
Simply add form elements (text, email, dropdown, checkbox, etc.) and configure them.

Available field types include:
text, textarea, email, number, password, date, file, checkbox, radio, dropdown, hiddenField, html.
Support for placeholders, required fields, file uploads, multiselect dropdowns, and more.
More Advanced Features
You can pre-fill fields using query parameters in the form’s production URL.
https://my-account.n8n.cloud/form/my-form?email=ryan%40example.com&name=Ryan%20Noman
Here %40 replaces @ and %20 replaces spaces. These values are set no matter which page of the form they appear on.
⚠️ Query parameters work only in production mode, not testing.
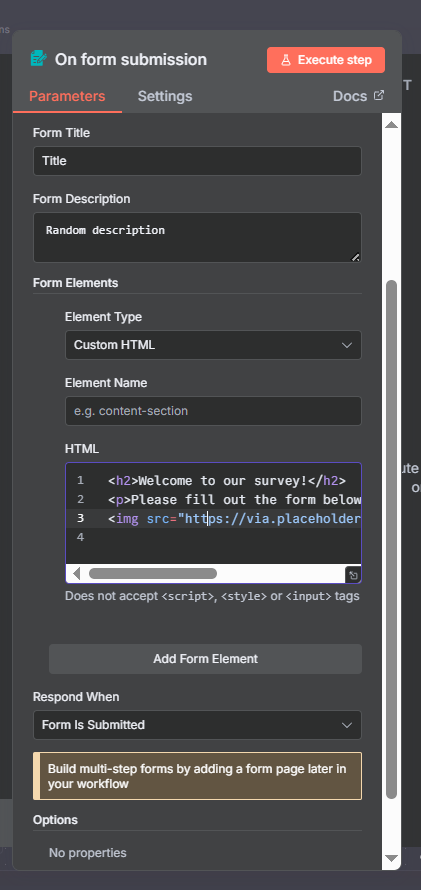
Custom HTML Fields
Add a Custom HTML field to display read-only content such as:
Instructions
Links
Images or videos
⚠️ The HTML field does not support <script>, <style>, or <input> tags.
Click on execute

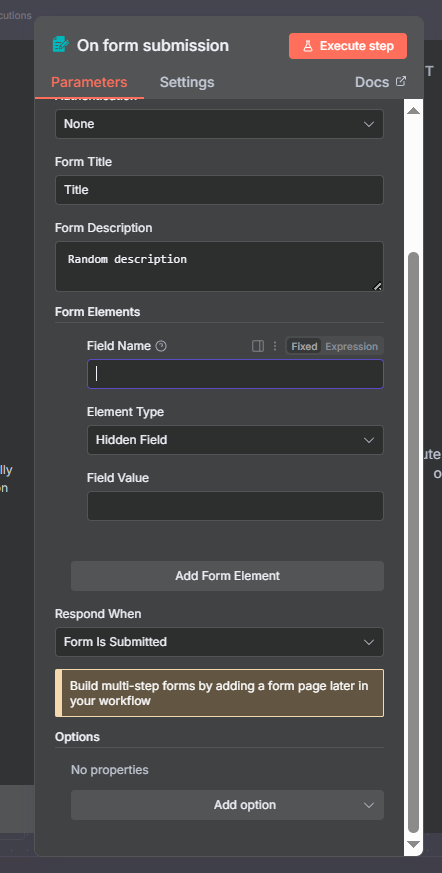
Hidden Fields
Use Hidden Field elements to pass extra data into the form without displaying it to users. Values can also be set with query parameters.
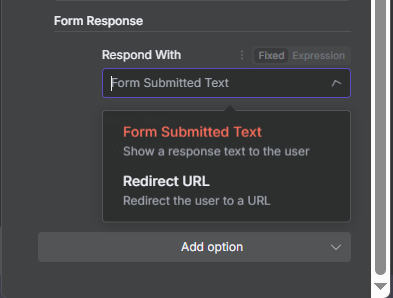
Form Endings
Every form must include a final page. You may select how users wrap up the experience with the Form Ending page type:
Show Completion Screen : A thank-you message with customizable title and description.
Redirect to URL : Send users to another webpage.
Show Text : Display arbitrary HTML or plain text.
Return Binary File : Deliver a file to the user upon completion.
⚠️ Only one Form Ending node is shown per execution, even if multiple branches exist.
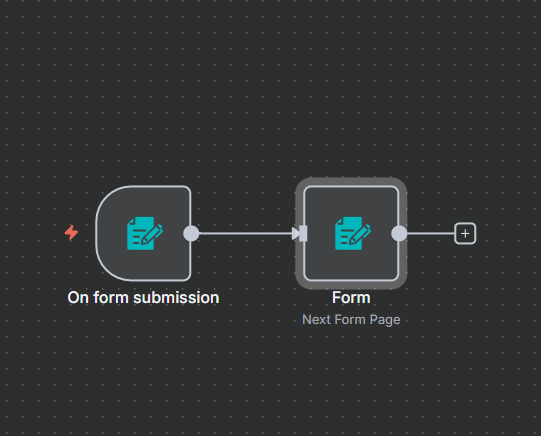
Multi-Step and Branching Forms
The Form node supports multi-step workflows with conditional branching.
Mutually exclusive branches : The form executes a single path depending on user input.
Multiple branches : If a workflow executes multiple paths, only the last branch’s Form Ending node will display.
This makes it possible to design dynamic forms that adapt based on responses.
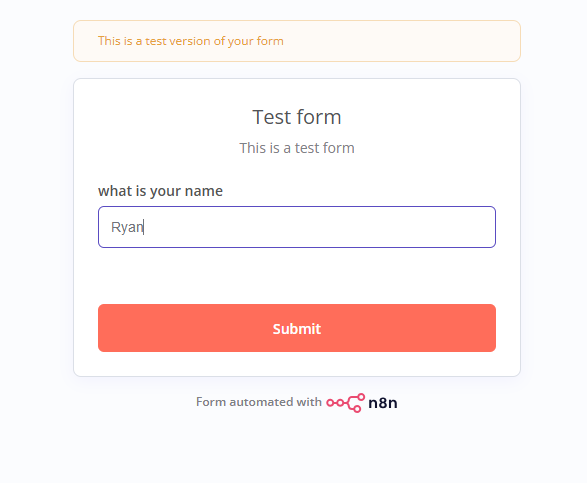
Quick demo
Here, i created a basic form that:
submits the form input,
sends the input to my mail and
also appends the name to a google sheet

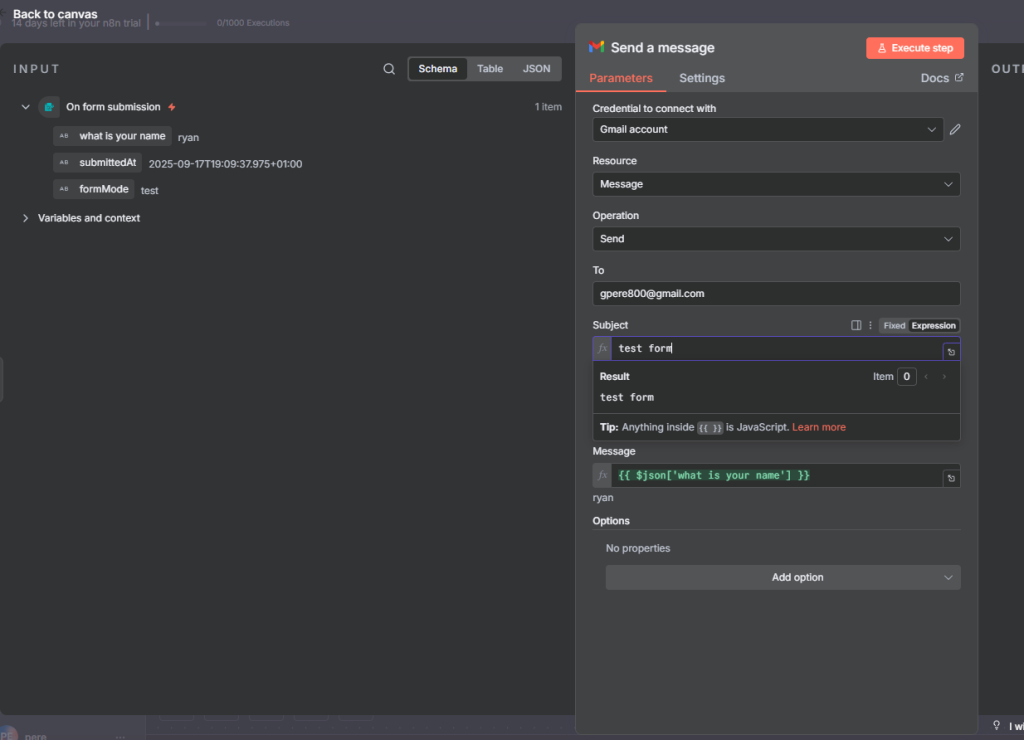
Next, execute the node
Next we add the “send a gmail node”.
Ensure you execute the first step before adding the gmail node.
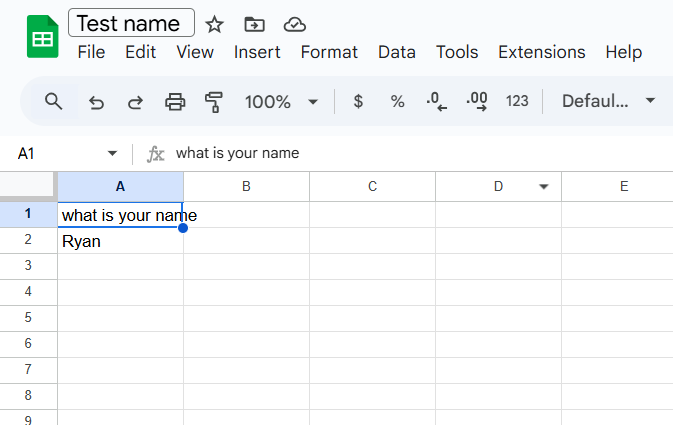
you can drag and drop the “what is your name” input so that it sends that to the gmail you selected and also appends it to the google sheet, otherwise you can choose to send a custom message and also ensure you add your gmail in the credentials part and tick all field when propted to verify.
Ensure you have a goole sheet created already otherwise use the “create sheet” instead of “Append row in sheet” node.
ensure you connect your gmail account
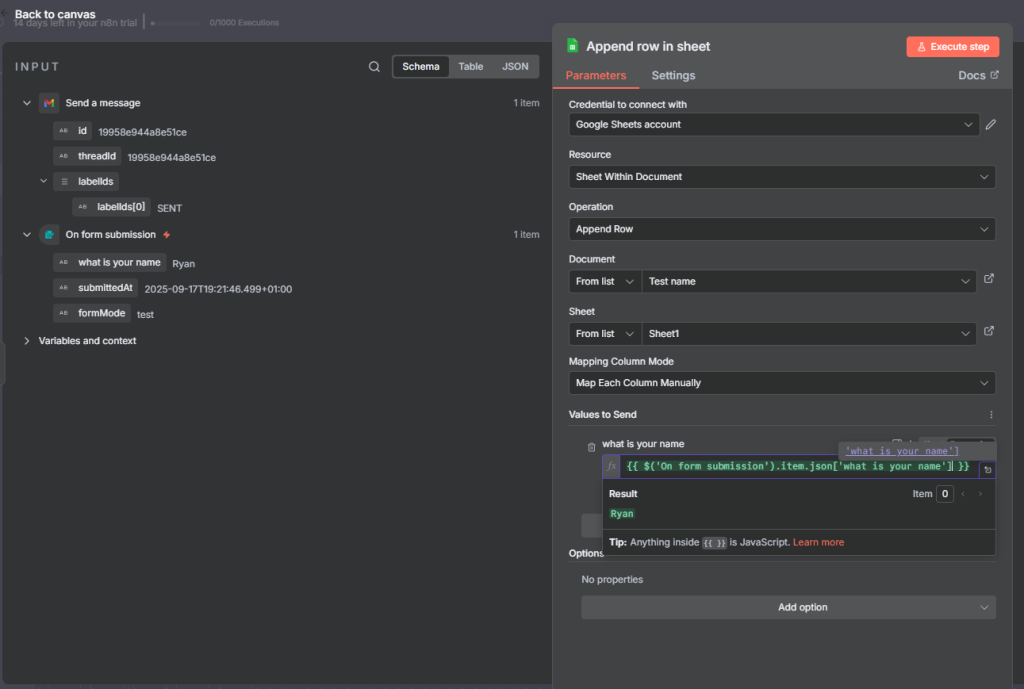
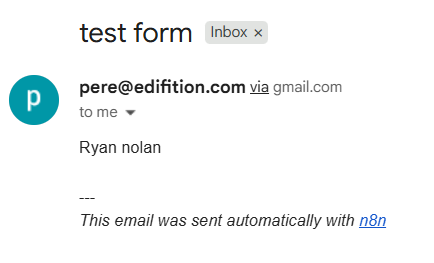
Result:
I got the mail and also the appended message in google sheet.
Summary
The n8n Form node is a powerful way to collect input directly in your workflows, no third-party form builder needed. With support for multi-step forms, hidden fields, custom HTML, and branching logic, you can create everything from simple feedback forms to complex approval processes.
Whether you’re collecting customer feedback, running internal approvals, or creating onboarding forms, n8n makes it easy to design, share, and connect form submissions to any of your automation workflows.
Thank you for reading this article. Make sure to check out our other n8n content on the website. If you need any help with n8n workflows we are taking on customers so reach out!
