How to Self Host N8N with Hostinger
Have you been paying $20 or more every month for N8N Cloud?
What if I told you that you could self-host N8N for as little as $5/month and unlock more features, better privacy, and greater control over your workflows?
In this comprehensive guide, I’ll walk you through everything you need to know to set up your own self-hosted N8N instance using Hostinger VPS — step by step.
By the end of this article, you’ll:
Save over $100 every year compared to using N8N Cloud
Learn how to deploy N8N on your own server
Unlock access to thousands of community nodes
Understand how to update and manage N8N effectively
Pro Tip: Thanks to Hostinger, you can also get an extra 10% discount using the code DATASCIENCE. I’ll show you exactly where to apply it.
Before we start, if you are looking for help with a n8n project, we are taking on customers. Head over to our n8n Automation Engineer page.
N8N Cloud Pricing vs Self-Hosting
Before we go into putting up your own server, let’s compare the costs:
| Plan | Monthly (Annual Billing) | Monthly (Pay-As-You-Go) | Features |
|---|---|---|---|
| Starter | $20 | $24 | Basic automation tools |
| Pro | $50 | $60 | Advanced features |
| Enterprise | Custom Pricing (~$667+) | Custom Pricing | For large-scale teams |
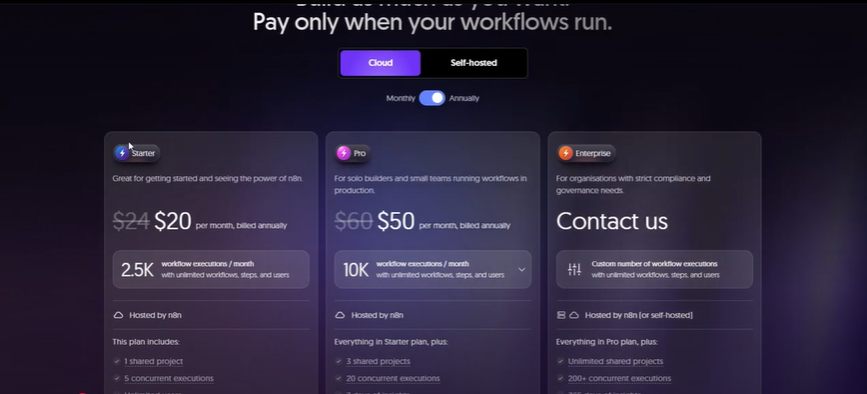
With self-hosting, you can bring that down to just $5/month using Hostinger VPS , saving hundreds of dollars every year
Choosing the Right Hostinger VPS Plan
To self-host N8N, we’ll use Hostinger because it’s cost-effective, fast, and supports Docker (which by the way N8N relies on).
Here are the VPS pricing options:
| Plan | Price | RAM | vCPU | Storage |
|---|---|---|---|---|
| KVM1 | $4.99/mo | 4 GB | 1 Core | 50 GB SSD |
| KVM2 | $6.99/mo | 8 GB | 2 Cores | 100 GB SSD |
| KVM4 | $9.99/mo | 16 GB | 4 Cores | 200 GB SSD |
| KVM8 | $19.99/mo | 32 GB | 8 Cores | 400 GB SSD |
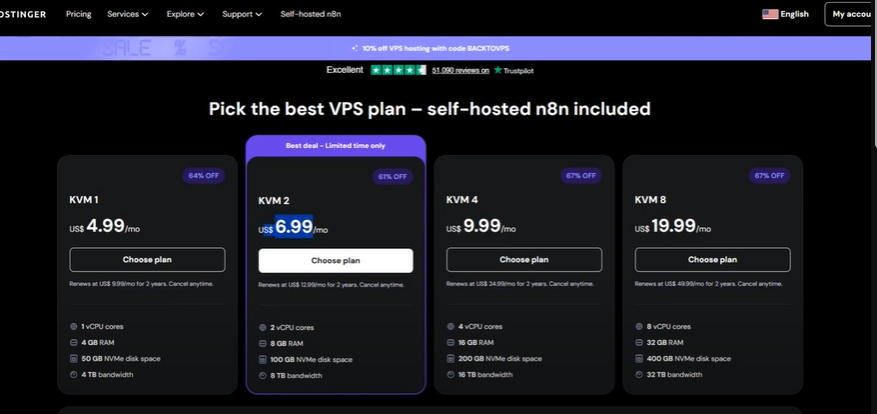
For most users, KVM1 ($4.99) is perfect to get started.
Use the code
DATASCIENCEat checkout for 10% off.
Setting Up Your VPS
After selecting your plan:
Choose Your Subscription Duration
24 months → Best price
12 months → Slightly higher
1 month → Not recommended
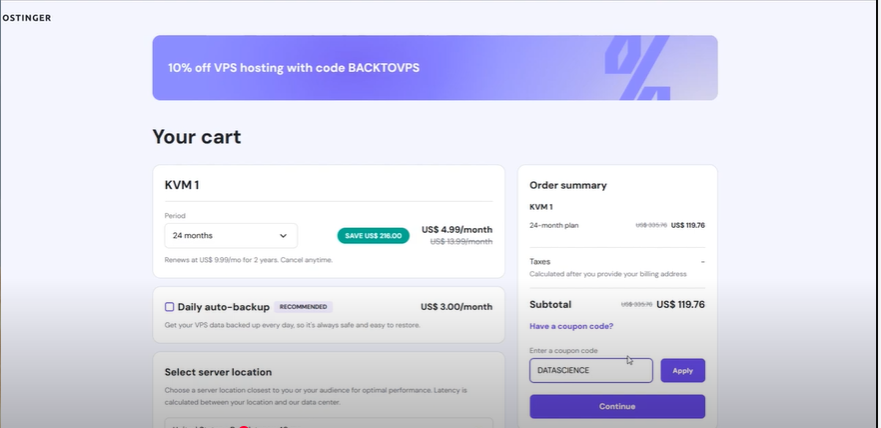
Apply Discount Code
Enter DATASCIENCE at checkout to save an extra 10%.
Select Server Location
Choose the region closest to you for better performance.
Choose an Operating System
Recommended: Ubuntu 24.04 LTS
Set a root password that meets security requirements.
Wait ~5 minutes for the VPS to finish provisioning. You’ll get an email when it’s ready.
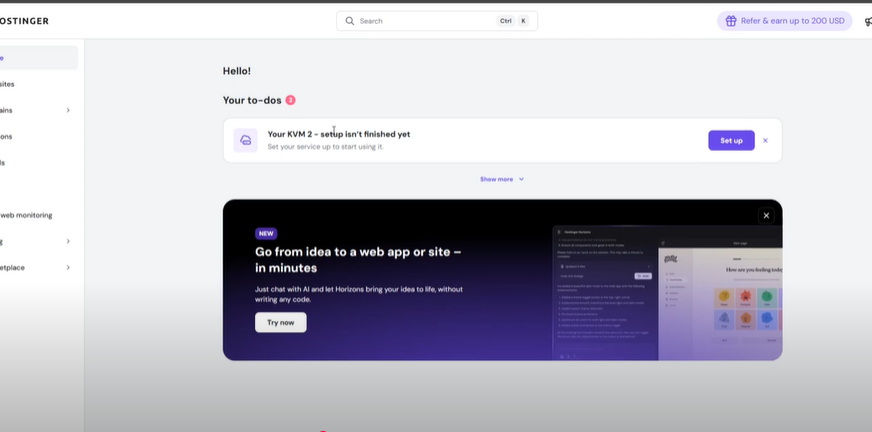
Hpanel:
Click on setup
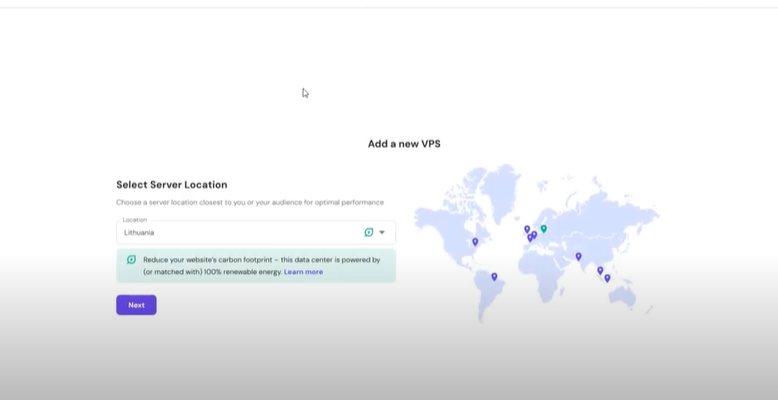
VPS set up:
Select your region
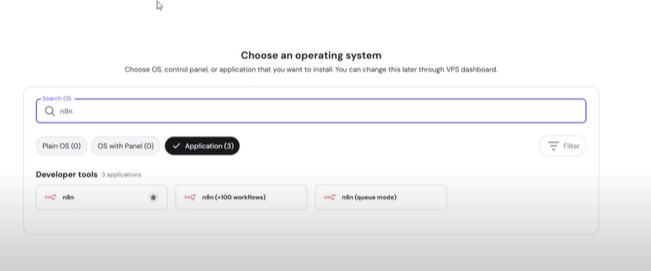
Ensure n8n is selected as operating system.
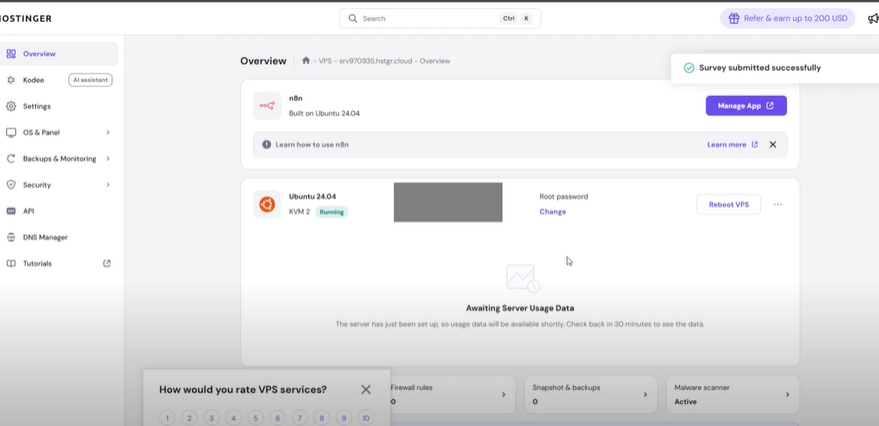
Seting up the VPS, this would take about 5 mins

Installing and Configuring N8N
Once your VPS is ready:
Log into Hostinger HPanel
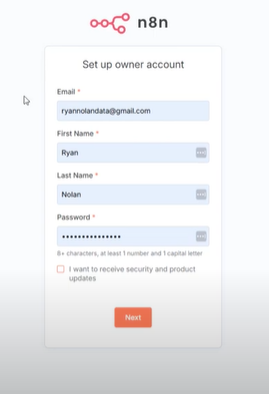
Go to Manage VPS → Set Up Owner Account by filling the form
Set up your owner acco unt:
Email
Name
Password
- Fill the customize n8n to you form next
Enable the free malware scanner for extra security.
Set up your owner account
Customize n8n form
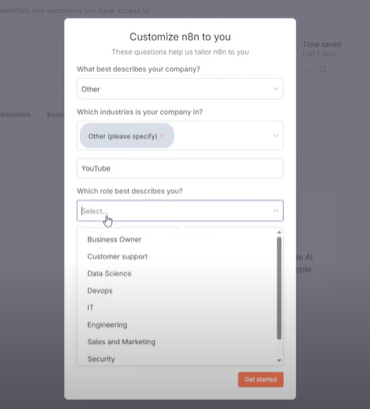
Activating Free Lifetime Features
Next, you’ll get an email containing a free activation key.
Use it to unlock premium features like:
Workflow history
Advanced debugging
Execution tagging
Folders and more
Activate it immediately to avoid expiration.

We are now officially in n8n
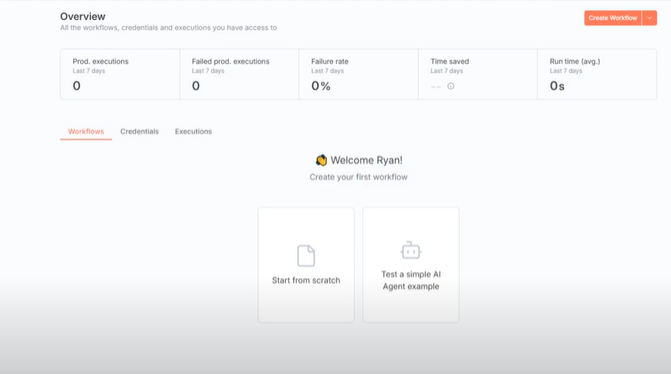
Creating Your First Workflow
Let’s build a simple workflow:
Go to Workflows → New Workflow
Add a Chat Trigger
Add an AI Agent Node
Configure the OpenAI API Key:
Get your API key from https://platform.openai.com
Set your model to GPT-5 for better accuracy
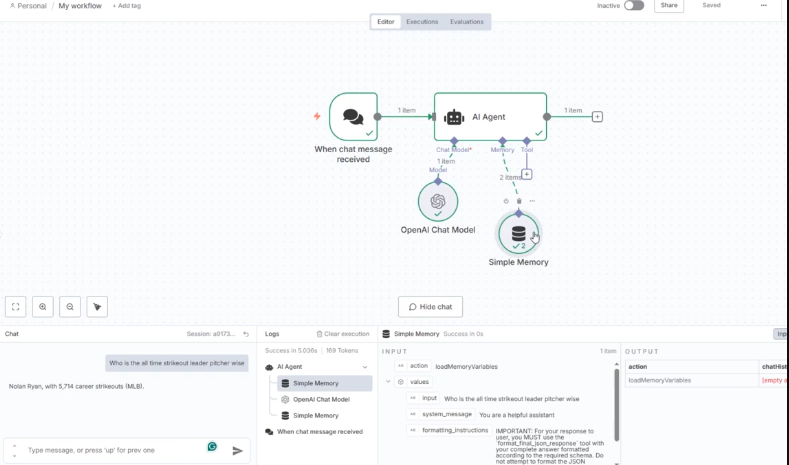
Test it by asking:
“Who is the all-time strikeout leader in MLB?”
You should see:
Nolan Ryan — 5,714 strikeouts
Here, you click “Add first step”,
Search for type trigger on the side pop up
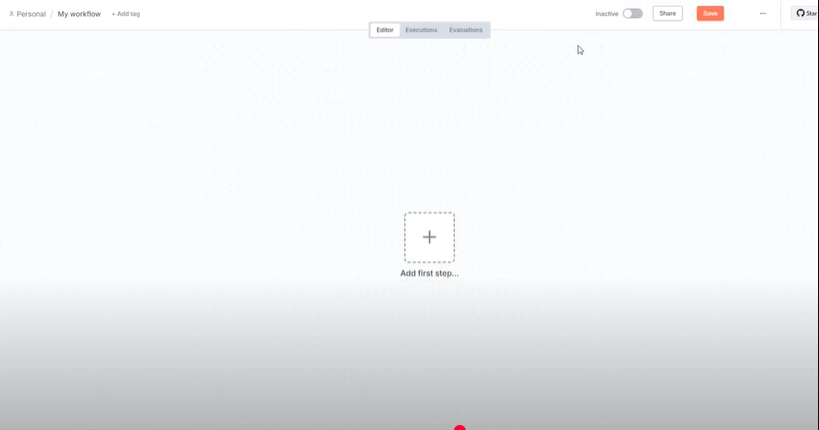
Search for chat trigger.

Chat trigger
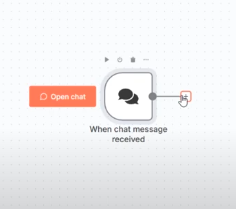
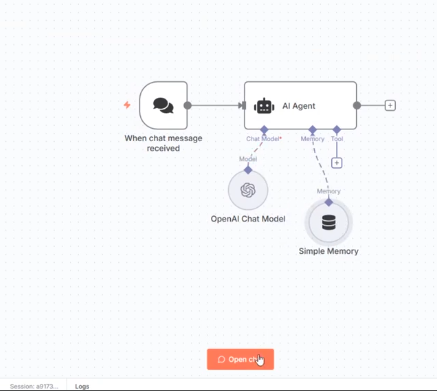
Next you setup your AI agent by adding an Agent Node.
click on the first plus sign under the AI Agent and create a credential.
“Note: Get your api key from openai”

Next, click on the second plus icon and add “Memory(Simple Memory)”

Next, you click on the “Open chat
Next, you type the question and get the answer.
Updating N8N with Docker
Unlike N8N Cloud, you’ll need to update N8N manually. It’s simple:
close the chat and then click on “Browser terminal” at the top right part of the screen.

Next, on the terminal, run this command.
					docker compose pull
docker compose down
docker compose up -d
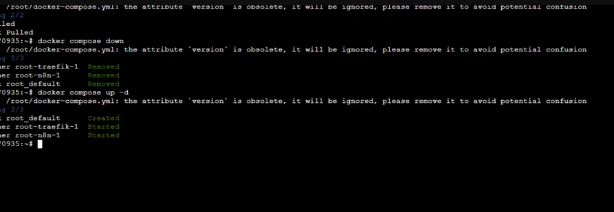
This ensures you’re always running the latest stable version.
Installing Community Nodes
One major advantage of self-hosting is access to thousands of community nodes.
Go to Settings → Community Nodes
Search for a package on npm
Copy the package name
Paste it into N8N → Install
Accept the security notice and confirm.
Example:
Popular nodes: Tavi, MCP, Apify
After installation, they’ll appear in your workflow builder.

Next, click on install community nodes.

Click on Browse to search for npm packages.
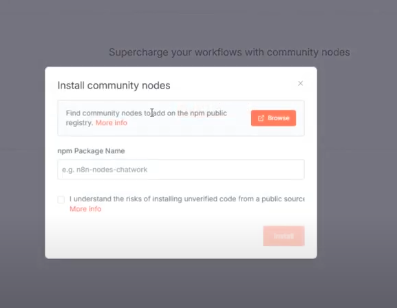
let’s make use of n8n-nodes-mcp-client.
Click on it and copy the install.
it looks like this.
npm i n8n-nodes-mcp

Then paste it here.
Click on the “i agree”, then Install.

You have successfully added a Comunity node

Final Thoughts
Thank you for reading this article. Make sure to check out our other n8n content on the website. If you need any help with n8n workflows we are taking on customers so reach out!
